Hello and happy Valentine Week! Just a short recap of the wonderful morning making different Valentine’s Day cookies at the workshop held at West Elm OC on Saturday. As usual, when I’m in ‘event mode’, I’m too busy to snap many photos but luckily there were plenty of photogs in the group.
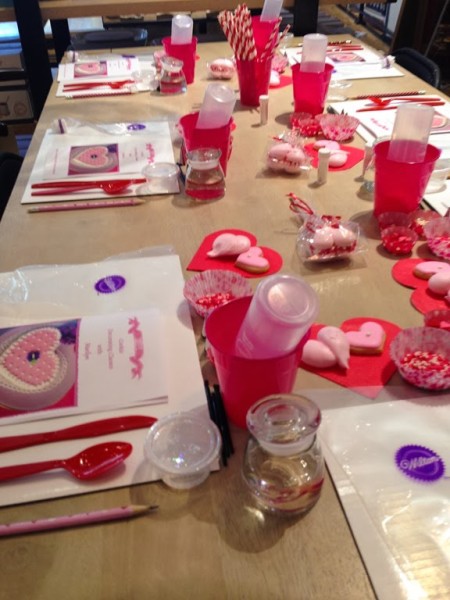
Here we are all set up and ready to go with my booklet of recipes, tips and techniques for baking and icing success. I couldn’t resist giving everyone a Valentine’s pencil to take notes and cookie samples to nibble as we decorated.
Where are the cookies and icing?!? I decided to hand out the cookies and containers of icing as we went along because creativity needs room to grow and thrive!
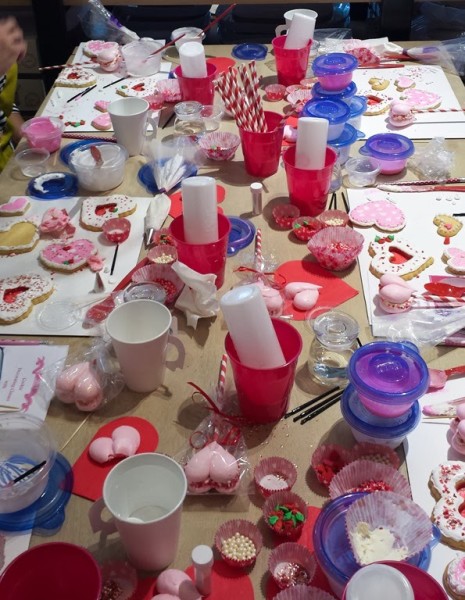
Full thriving creative mode! 🙂
Marianne’s creative masterpieces.
I can’t tell you how nice everyone was and it was such a pleasure to meet readers of my blog. We felt like we already knew each other which was a warm welcome to me!
I also want to thank Diane whom I met at my workshop in Newport Beach during the holidays. She wanted to take the class but I told her some of the techniques being taught she already knew so she offered to give up her Saturday morning to come and assist me! And assist she did! Diane, your help was invaluable to me and kept everything moving along like clockwork. Thank you, my friend!
Thank you West Elm for hosting the workshop and gifting everyone with a market bag and to Wilton for sponsoring most items that we used. I love using Wilton’s products and I’ve been doing so for over thirty years! If I didn’t believe in their quality I would have moved on along time ago. They are the best. Period.
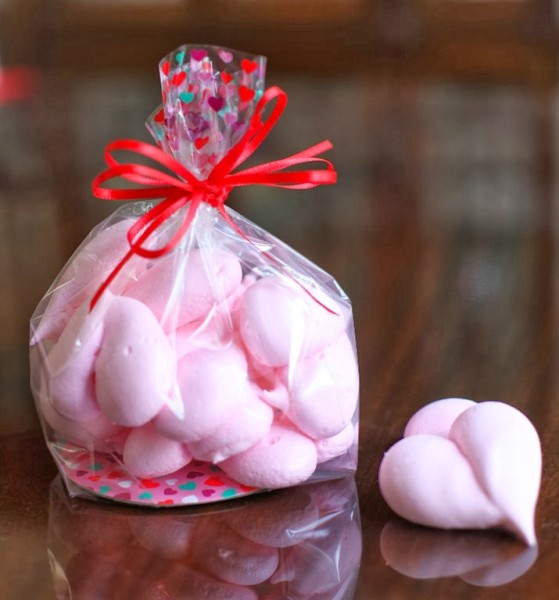
Check out this cute little bag. The card round in the bottom gives it more support than a cello bag alone. It worked great to give a little more protection to fragile meringue cookies. I added the thin ribbon bow. Everyone was given two bags to take home too. Yay!
Participants also were able to take with them Wilton decorating tips, a squeeze bottle, piping bag, coupler, icing and cups of heart sprinkles, disco dust, luster powder, edible accents heart sprinkles, brushes, pearl dragees, and little red rosettes I made. Everyone learned how they can make their own rosettes too with one of the tips they were given.
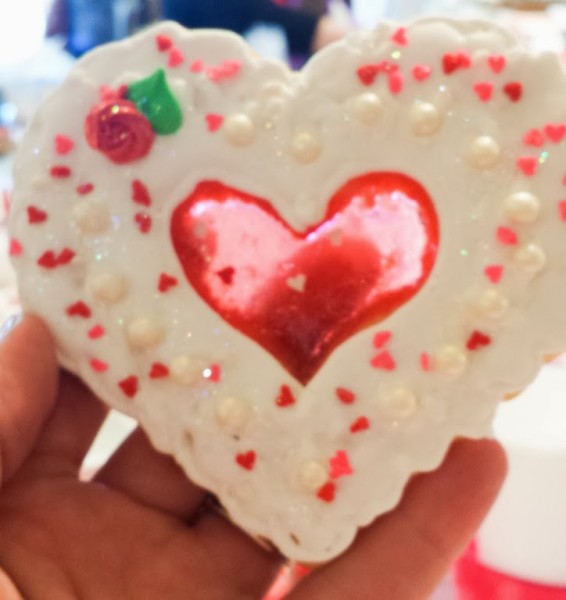
Speaking of tips, albeit a different kind, as promised – the tip for making the glass heart cookies candy center. You can read the original post I wrote on making the Glass Heart Cookies when I first used Red Hots for the candy center.
Having had success with Red Hots before I had no reason to think they wouldn’t work this time around until I went through about a dozen cookies trying to find the perfect formula to have them melt while baking.
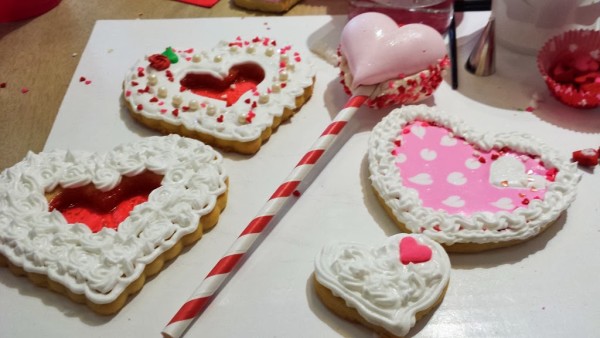
I ground them to a fine powder in my little Cuisinart mini-chop and filled cookie like I have always done but the candy didn’t melt well during baking as you can see in the photo below. The cookie using Red Hots is pictured on the left. It’s uneven, bumpy and non-translucent. I tired just about everything – I baked the cookies longer, I tried different oven temps and I even grabbed my little crème brulee blow torch and I scorched the cookie. No bueno.
Now I was on a quest to find a clear, hard candy that might work. I found a bag of cinnamon Jolly Ranchers at CVS. I was originally looking for rolls of cherry LifeSavers but couldn’t find them.
Ta-da! The Jolly Ranchers (in the above photo on the right, in the iced cookie) worked like a dream! They melted before the cookies were finished baking and the sugar became clear and even. They were perfect!
So, if you do make these, and I recommend you do because they are so pretty and everyone you give them to will ooh and aah at how clever you are, I guarantee you’ll have great success with the Jolly Ranchers. 🙂
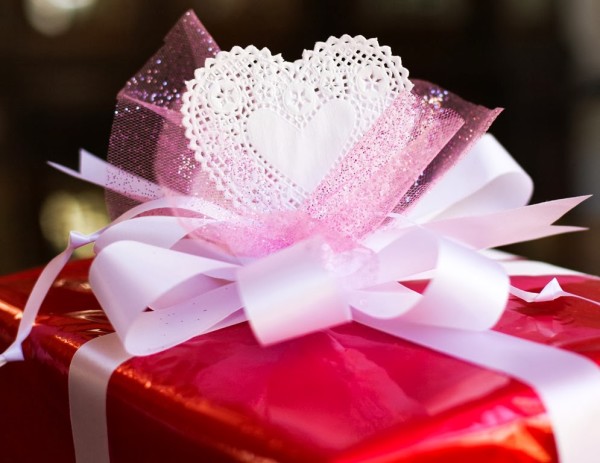
I have one more Valentine’s Day post planned for tomorrow. How about a simple and sweet gift wrap? Here’s a sneak peek photo…
Remember to get your Valentine’s in mail today if you haven’t already! ![]()
