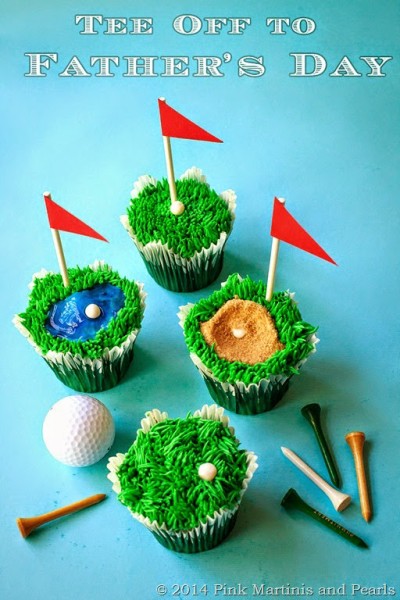
It’s tee off time for Father’s Day or for the golf enthusiast!
These golf-themed cupcakes are for the golfer dads out there or the golf enthusiast! I created them specifically with little duffers in mind since they are easy to decorate using only one decorating tip with multiple openings making grass “grow” quickly while moms will appreciate the ease and convenience of using Wilton’s ready-made decorating icing that’s the perfection consistency.
I made several different golf-themed cupcakes for fun but you could easily choose one and stick with it. Let’s walk the fairway first to see what lies ahead and then I’ll list the recommended supplies you’ll need and the DIY instructions.
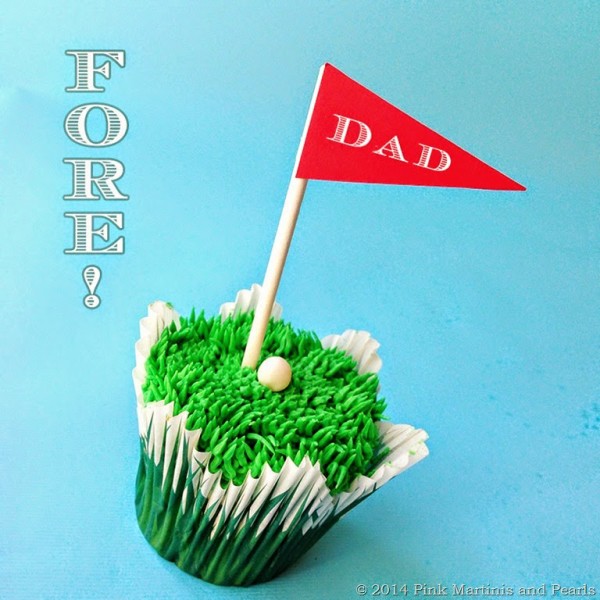
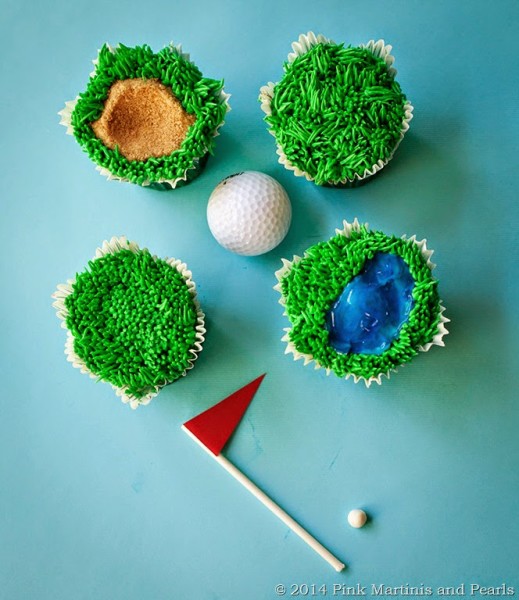
The Hole-in-One – A Winner. Just like Dad.
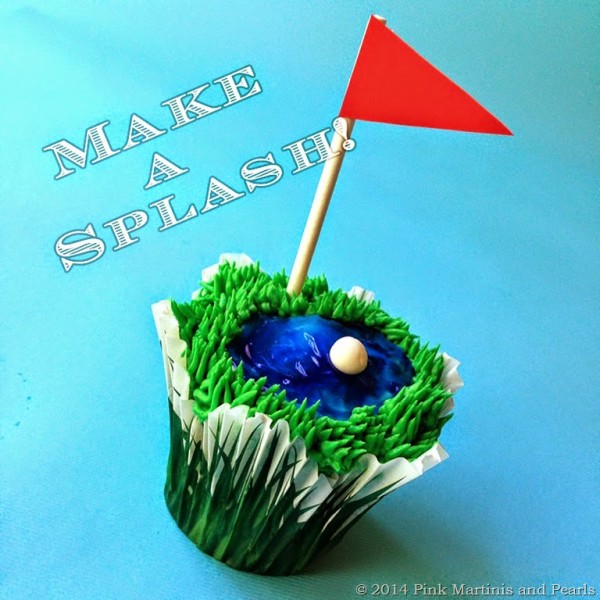
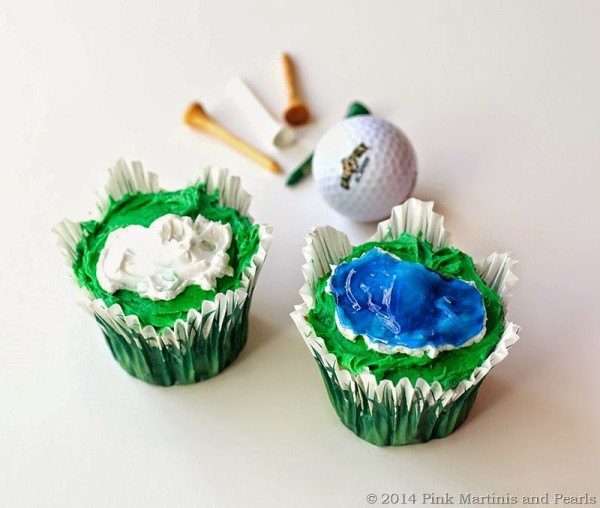
The Water Hazard – What’s special about the Water Hazard cupcake is the use of clear piping gel tinted with a touch of blue.
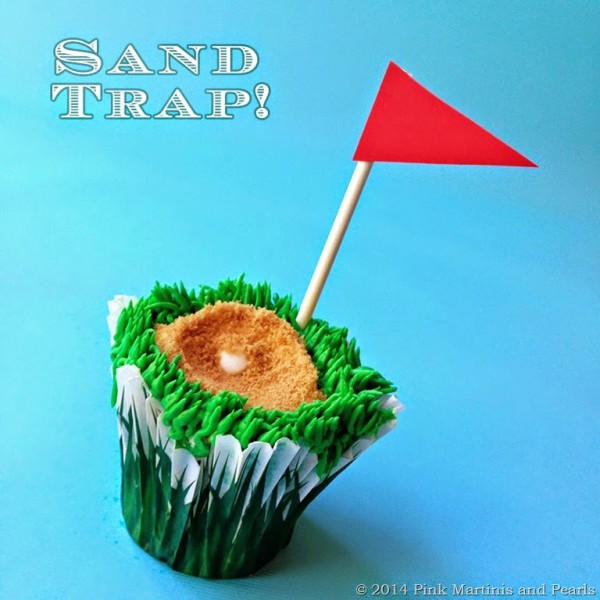
The Sand Trap – Thanks Dad, for showing us how to dig our way out when we get stuck on homework problems! Brown sugar mounded up creates this fun effect.
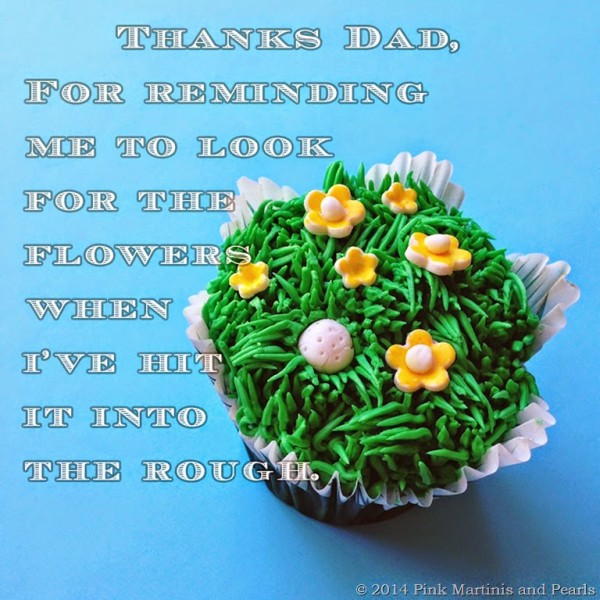
In The Rough –
So, are you set to tee off and drive it down the fairway for a Father’s Day celebration?
What You’ll Need:
Cupcakes
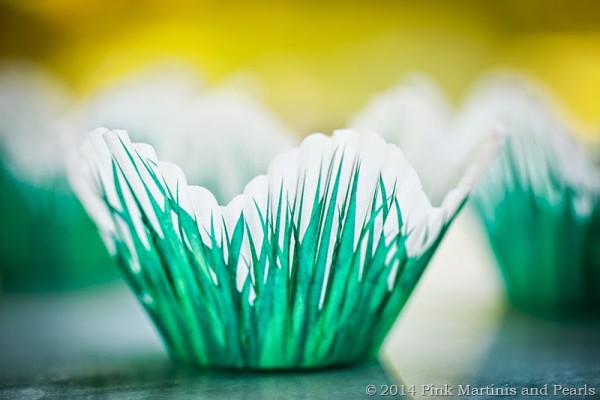
Wilton Petal Shaped Grass Baking Cups
Wilton Decorating Tip No.234
Wilton White Ready-to-Use Decorator Icing
Wilton Icing Colors (The Kelly Green for the grass. Royal blue for the piping gel. The set I used came has 12 colors, but it’s also available in a set of 8 colors and individually)
Wilton Tapered Spatula
Wilton Disposable Decorating Bags
Wilton Icing Bag Ties
Wilton Coupler (optional – since this is a one tip/one color project you can place the tip right into the decorating bag)
Wilton’s FoodWriter food safe pens (optional)
Wilton Piping Gel (for the water hazard cupcake)
Prep:
My mother-in-luv found these great petal shaped baking cups with a grass print made by Wilton. I knew they would be perfect for my golf cupcakes. Thanks, Jeana!
For the icing, I highly recommend Wilton White Ready-to-Use Decorator Icing for a few reasons –
1. It’s so convenient to have a tub ready to go with no mixer bowls and beaters to wash. A real time saver and it gets everyone decorating quicker.
2. It’s the perfect consistency for piping. Canned icing at the market is a lot softer. It will work, but once you’ve worked with the perfect consistency, you’ll be hooked.
3. It keeps me on my diet. It’s true. If I’m not mixing it, I’m not scraping the bowl and licking the spatula.
4. Of course, it tastes really, really good. (okay, I did taste a little)
Tinting the Icing –
I used Wilton Icing Colors Kelly Green for the grass and Royal Blue to tint the piping gel. 12 colors came in the set I used, but these two colors are also available in a set of 8 colors and individually).
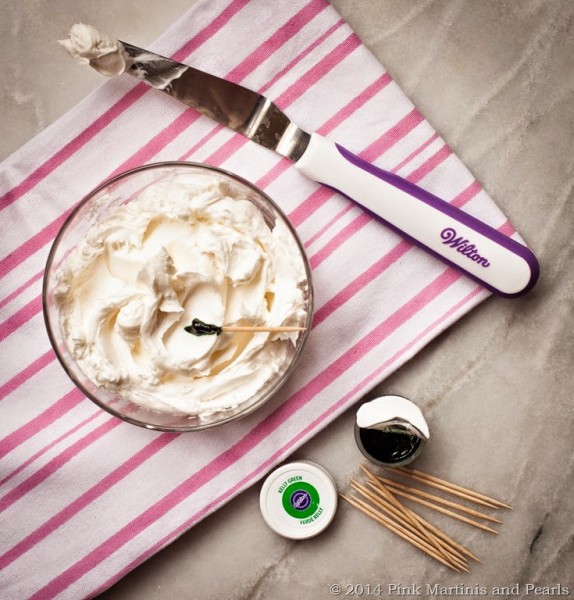
I use toothpicks to scoop out the amount of color I needed. If you use any colors in a pot, each time you dip in you must use a fresh toothpick. Icing should never touch the food coloring in the container. If you keep the colors pure and untainted, they will keep indefinitely.
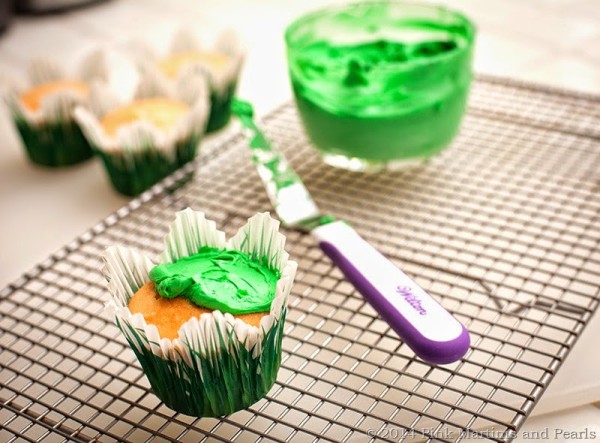
I loved using the Wilton Tapered Spatula to create a base coat of green on the cupcakes. The tapered end allowed me to keep a clean edge inside of the paper cup.
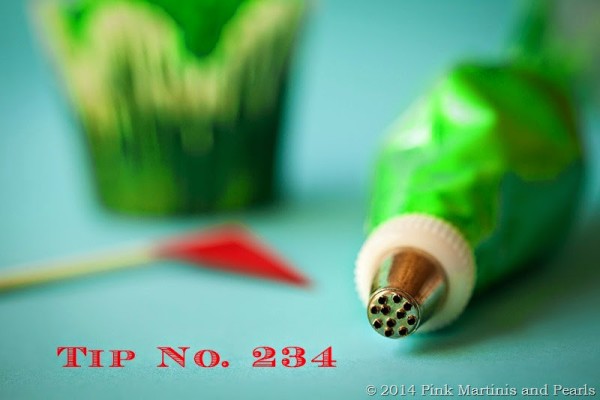
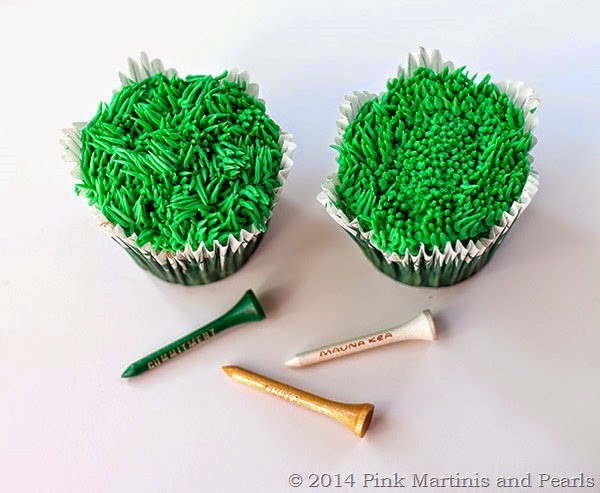
Here’s the secret to a lush, green lawn – tons of tiny holes! Wilton Decorating Tip No.234
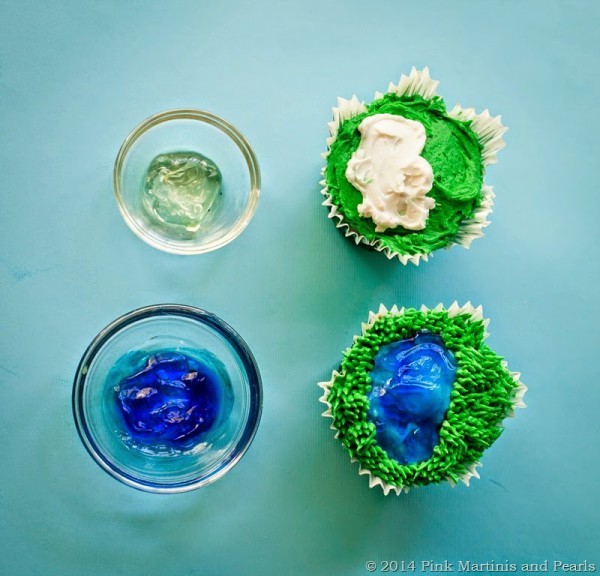
If you’re planning the water hazard cupcake, you’ll need piping gel to tint blue. I like to put a base of white icing under the blue gel. This gives the water some depth and makes it pop, otherwise the blue gel will look very dark. You could skip this step if you like, but if you want to do it, here’s how –
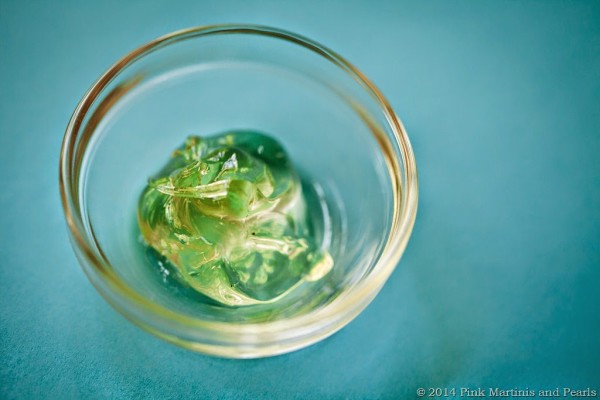
This is piping gel – it’s clear, sweet and sticky.
It takes very little color to tint it. Dip the tip of a toothpick into the color pot and mix it into the gel.
See how a basecoat of white makes the blue pretty? It acts like a reflector.
Got a course of action planned of how you want to play the cupcake game?
Piping The Grass –
The grass couldn’t be easier to make. Take a Wilton Disposable Decorating Bag fitted with an optional coupler. Optional, since this project only requires one decorating tip and one color. Secure the end of the filled bag with a Wilton Icing Bag Ties. I love these and they’re great for little inexperienced and enthusiastic hands that squeeze from the middle of the bag. ![]()
The Technique –
Squeeze and pull. That’s it! You can make longer blades of grass for the “in-the-rough” cupcake by squeezing a little while pulling or shorter blades for the green by squeezing then stopping before you pull up.
Finishing Touches –
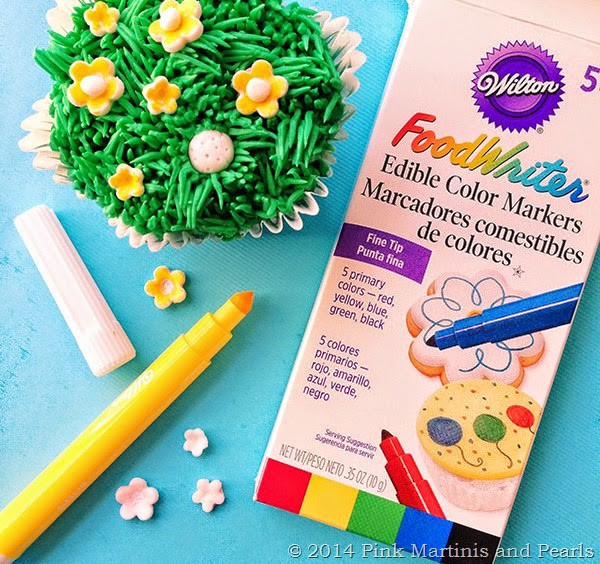
Flowers – I had some extra fondant flowers from bridal shower cookies I had made so I colored them yellow with Wilton’s FoodWriter food safe pens. Of course, “flowers” don’t have to made out of fondant but could be small pearl dragees, or a drop flower piped with a #14 open star tip. Having flowers is an optional embellishment but I like them on a few cupcakes to change the height of my presentation since I didn’t add a flag to the in-the-rough cupcakes.
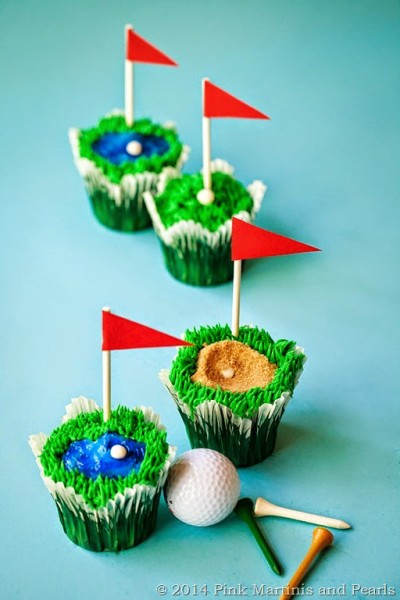
The Flags – lollipop sticks, red poster paper and double stick tape. I love making these for cupcake toppers for any party. I even made them for a styled graduation party. Great little craft project for the kids. You could also write “dad” or put hearts on the flags if you’d like. Cute!
The Golf Balls – I made mine out of rolled fondant but they can be little white mints, dragees or piped from a small plain round tip (#4) out of the white icing. Toothpick pricks make the little divots in the ball.
I’d love to see your Father’s Day cupcake projects. Please send me your photos and I’ll post them to my Facebook page!
I’m also on Instagram where I’m a big commenter. What can I say, I love to chit-chat there. ![]()
Have a wonderful Father’s Day and just a happy weekend!
This is a sponsored post. I received compensation and/or product from Wilton Cake Decorating. All opinions and endorsements of the products I mention are my own. If I didn’t love them… you know. 🙂
