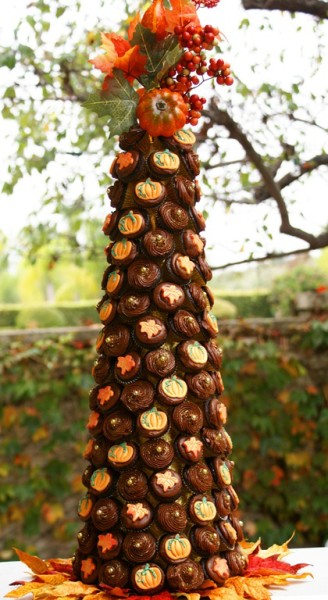
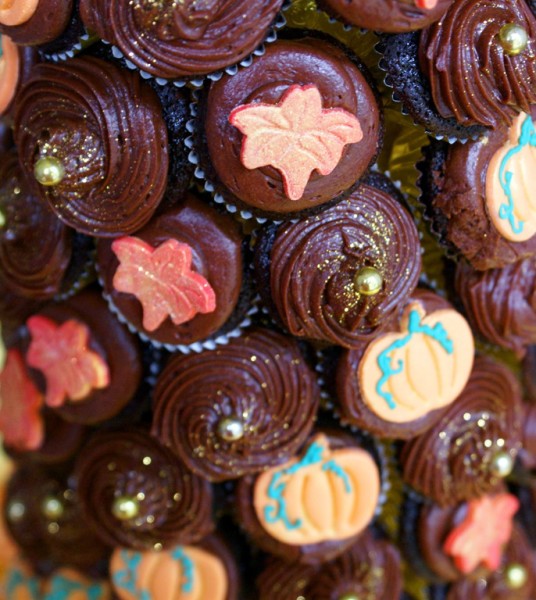
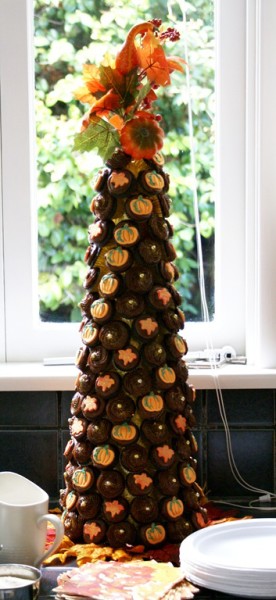
Mini chocolate cupcakes decorated with over-sized dragees and fall themed fondant cut-outs literally reached new heights in my kitchen for a fall open house party this past weekend.
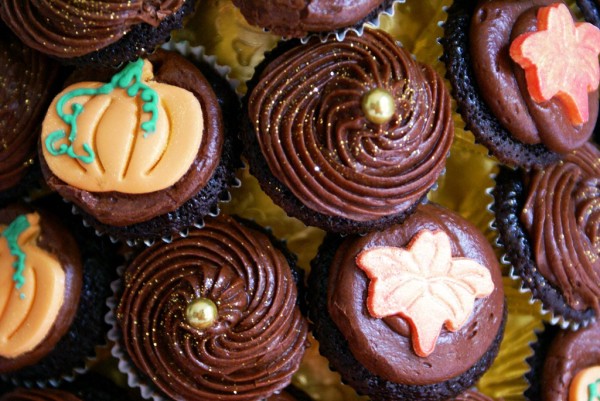
We’ll get ‘up close and personal’ so I can show how you how I made this.
It’s not as complicated as it looks. Trust me. They’re just a bunch of little ol’ chocolate cupcakes dressed up all fancy like.
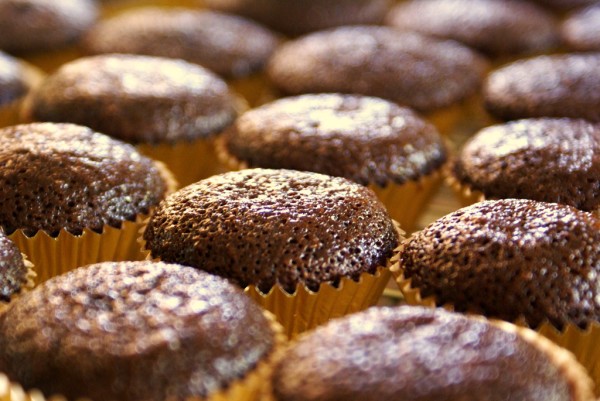
The number of cupcakes needed depends on the size styrofoam cone that is used but the cupcakes bake up rather quickly at 10 minutes in the oven per batch. One recipe of batter makes approximately 120 mini cupcakes. I used about 150 mini cupcakes.
For the wrappers I used Wilton’s gold foil candy cups which are smaller than mini baking cups but still lined with paper. The candy cups are a true ‘pop-in-your-mouth’ bite whereas a cupcake baked in a mini baking wrapper takes a bite or two.
I used our All-American chocolate cake recipe and the accompanying chocolate icing. Mini spiced cake or carrot cake cupcakes would have been very good too but I was specifically requested to bring the chocolate cupcakes. (I really do need to post those recipes again soon but I’ve never taken a good, well thought out photo when we’ve baked the cake and I feel it’s the least I could do.)
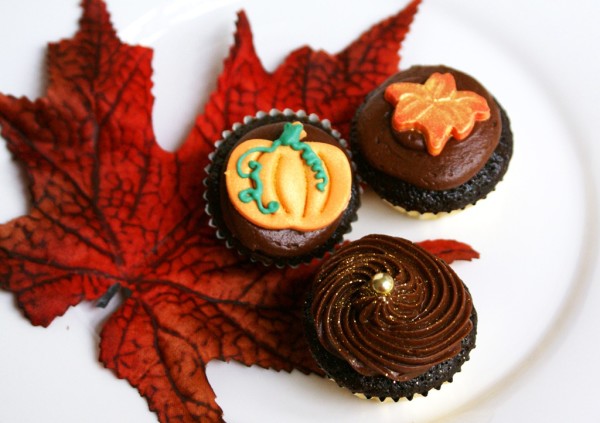
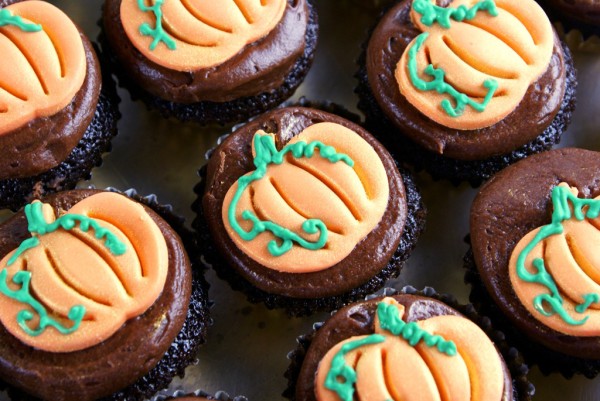
For the fondant decorations on top of the cupcakes I kept with the fall theme.
Pumpkins and fall leaves came to mind.
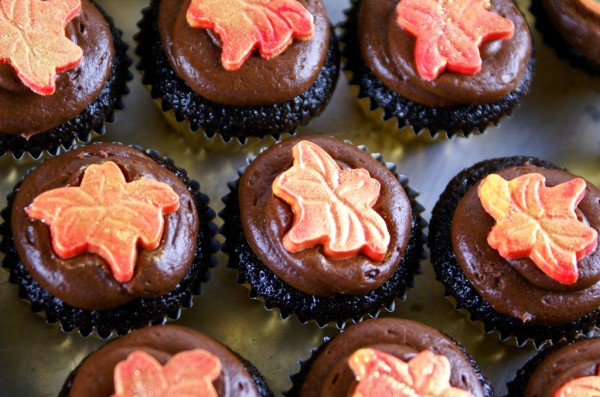
I didn’t want the use of too many patterns on the display so the third cupcake would be plainer but still elegant. It would be placed between the pumpkin and leaves rows.
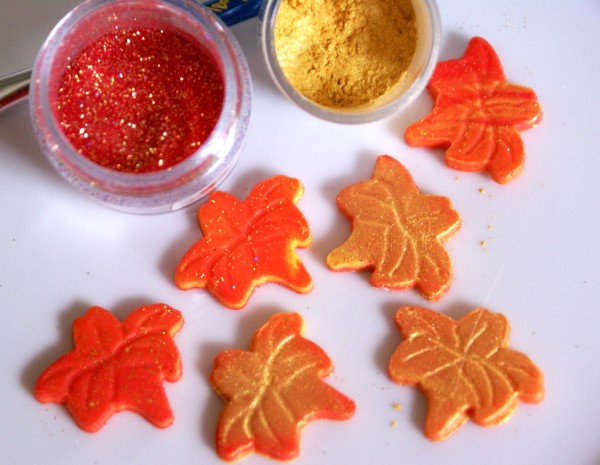
I made the fondant leaf cut-outs with the same fondant plunger I used for the grape leaves on the wedding cookies. I took rolled fondant I had colored red and yellow and marbled them together as I did for the fondant leaves cookies and ran the steamer over the leaves as for the Halloween bats cookies to tack up the fondant.
I then flicked strawberry Disco Dust over the leaf cut-outs. The strawberry color is a mix between a warm red and gold. When the leaves were less tacky, I dusted them with super gold luster powder.
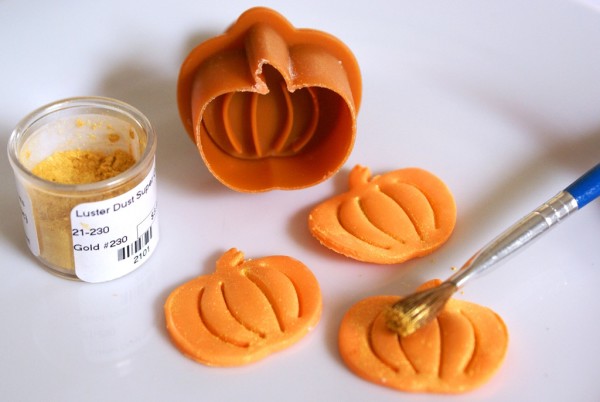
For the fondant pumpkin cut-outs I used a cutter I had from the Williams-Sonoma piecrust cutter set. By the way, the Christmas cutters are as cute as can be. I can see them now on a Christmas mini cupcake tree, can’t you?
Back to fall and the pumpkins ~
Thinned royal icing piped with a 1S piping tip made the tendrils and stem. I believe it is the smallest opening made on a tip or at least the smallest I’ve ever found.
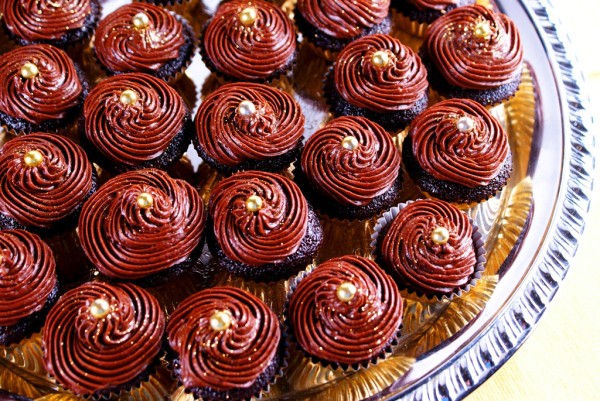
For the swirls on the dragee cupcakes I used a larger long tip. No number on the tip but the equivalent plain round tip is a large number 3. I also don‘t know the size specifications of the dragees except to say the container should have read ‘obscenely decadent.’
Of course, I had to give them a slight sprinkle of gold Disco Dust.
With the cupcakes complete, here’s what you’ll need for the structure…
-
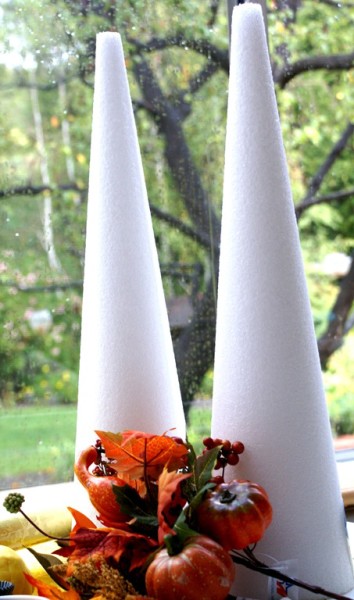
1 styrofoam cone (I used one with a 5 inch base, 21 inches high)
-
decorative foil to cover the cone
-
10” round cake cardboard
-
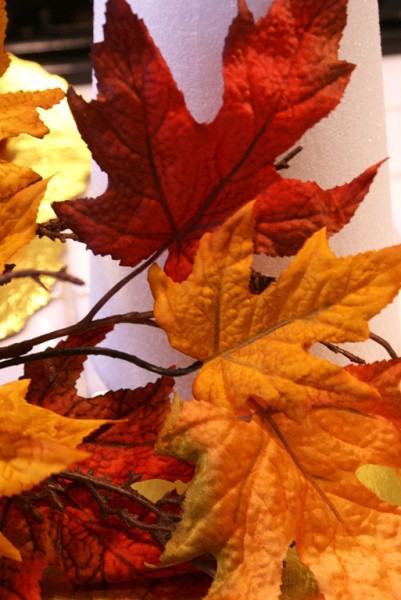
silk fall leaves
-
floral pick for the top
-
box of regular tooth picks
-
glue gun
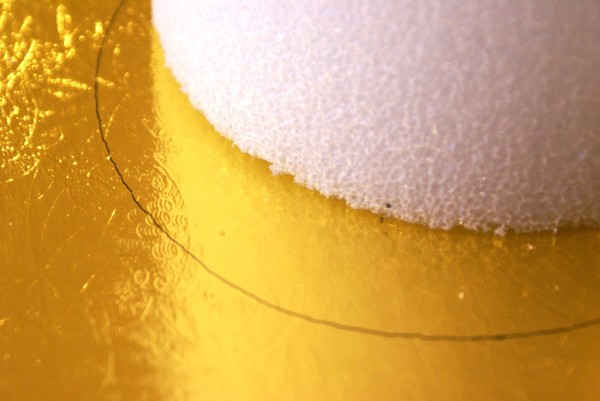
Take the styrofoam cone and center it on the cake board. Draw a circle around the base of the cone.
Tip: Having a larger diameter cardboard circle to place the cone on will add support and stabilization to the structure when pushing toothpicks into the styrofoam and especially when the finished structure is being moved around or transported.
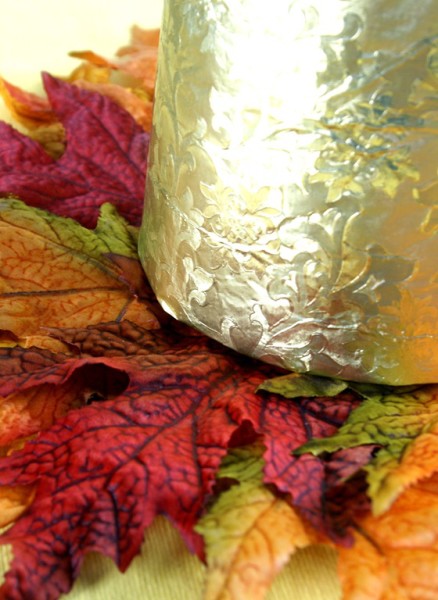
Wrap the cone in decorative foil or paper. I used gold foil to blend in with the fall colors I used in the color palette and with the gold foil cupcake wrappers. I wanted everything to shine.
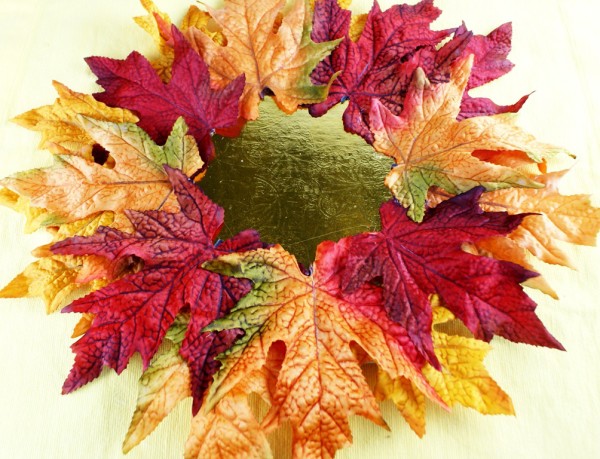
I bought a branch of fall leaves and cut all the leaves off so I could use them individually to circle the cake board.
I first glued a row of leaves so the edge of the board would not show. I added another leaf row on top positioning them just to the inside of the mark I made prior.
Tip: The cake board I used happened to be foil covered. I bought it before I had the idea for the foliage. If I would have known at the time I was going to completely cover the board I would have bought a plain board.
The last step – secure the covered cone to the board with hot glue.
To assemble the cupcakes to the cone ~ It’s so simple ~ just stick a toothpick into the foam at a slight angle up starting at the base and push a cupcake onto it.
Tip: Try for the toothpick to pierce the middle bottom of the cupcake. If the toothpick sticks out the cupcake top, remove the cupcake and push the toothpick farther into the foam. You want a good toothpick/foam/cupcake ratio. You’ll get the idea.
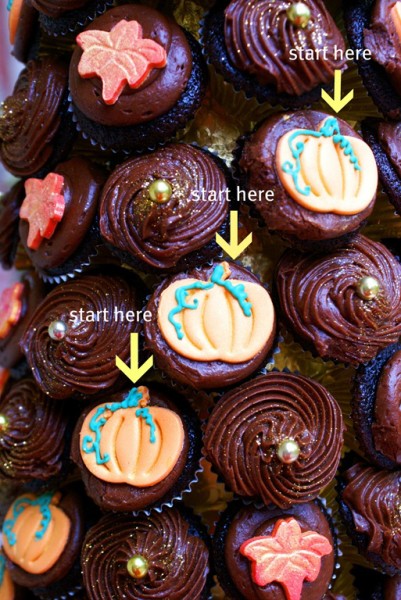
Place the cupcakes in a pattern…pumpkin, dragee, leaf, dragee, pumpkin, dragee, leaf, dragee….
Always begin your second row starting with the first pattern on the cupcake used. For example, I began with the pumpkin so when I added the next row I began with another pumpkin cupcake slightly to the right and above the original pumpkin cupcake. This will get the pattern climbing up the cone in a swirl pattern.
Tip: Where the rows start and stop will be the back of the cone because there will be gaps to fill in where the pattern doesn’t line up perfectly. That’s just the way it is. Cupcake sizes vary and the diameter of the cone gets smaller as you reach the top. Don’t worry about finishing up the pattern perfectly when completing a row. Just begin as stated above with the original patterned cupcake and the front and sides will turn out great and only you will notice the back.
Finish the top of the cone by pushing in a floral pick. All done!
The above photo was taken at the cutest-ever-1923 vintage-storybook-cottage-in South Pasadena anyone has ever seen-open-house! One thing though, I should have plucked an obligatory cupcake from the front because no one wanted to be the first. When I left the open house hours later I saw people eating cupcakes but the front still looked untouched. People were reaching around the back to take them off. So funny. 🙂
I’d be glad to answer questions in the comments section if you have any. Wouldn’t this be a fun and unexpected dessert for Thanksgiving dinner?
Have a great week!
