Have you heard of a Secret Santa/Cookie Exchange? It’s a natural combination when you’re part of the Wilton Cake Decorating’s Sweet Treat Team.
Hmmm, then I had an idea that had me shaken and stirred! Mostly shaken. 🙂 As in shakin’ those sprinkles!
Click on the video below and you might be shaken too!
Speaking of sprinkles for a moment, Wilton has so many whimsical varieties of sprinkles. I have to admit I’m of a collector of the seasonal kind. Because they’re so darned cute with a festive theme they really do spark my creativity to see how can I incorporate them into my holiday treats.
If you’re wondering what sprinkles and Wilton products I used, a complete list with links will be at the end of the post.
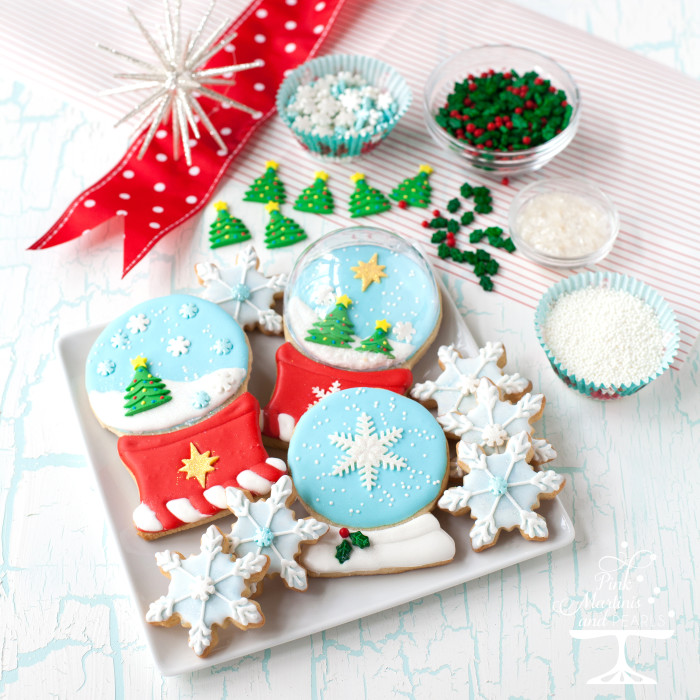
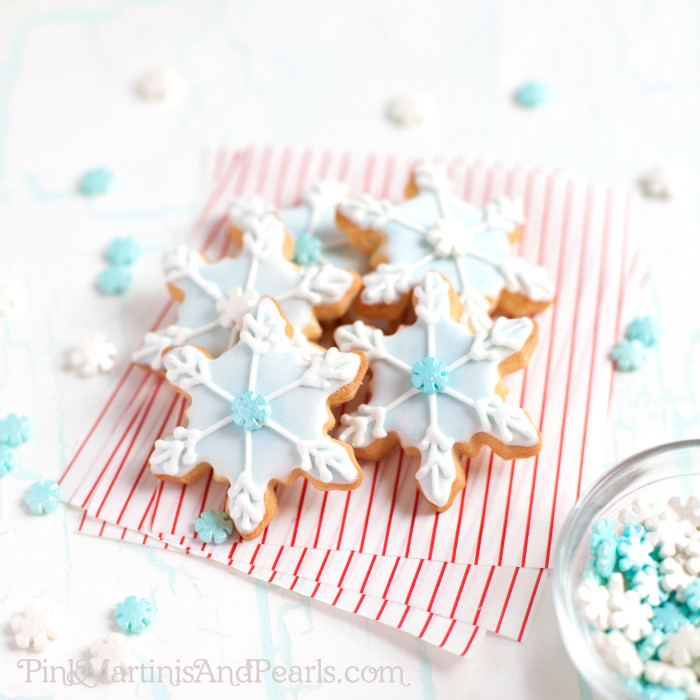
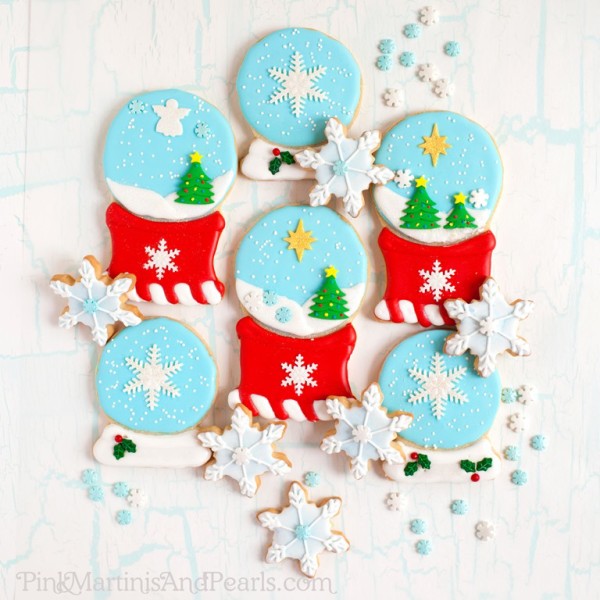
And what are snow globes without mini snowflake cookies to accompany them? The jumbo snowflake sprinkles made the perfect cookie center decorations.
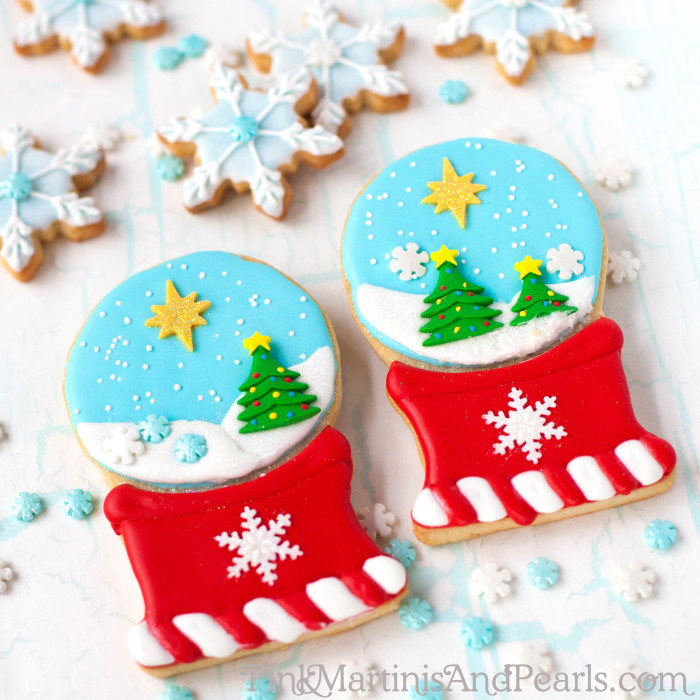
I loved Wilton’s Icing Decorations this season. I made the trees different sizes by cutting them with a serrated knife.
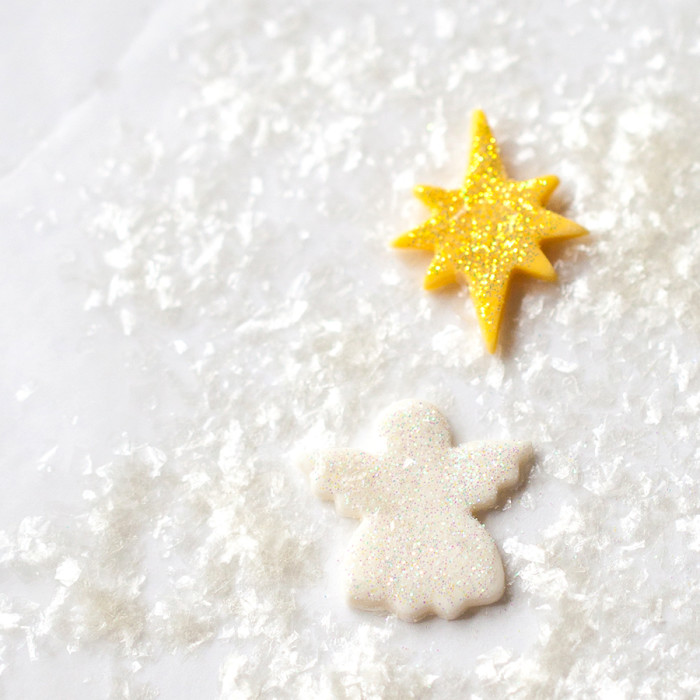
I also made some decorations using Wilton’s Decorator’s Preferred Fondant with some vintage Linzer cutters from my collection.
Behold! I bring you tidings of great joy and sparkle!
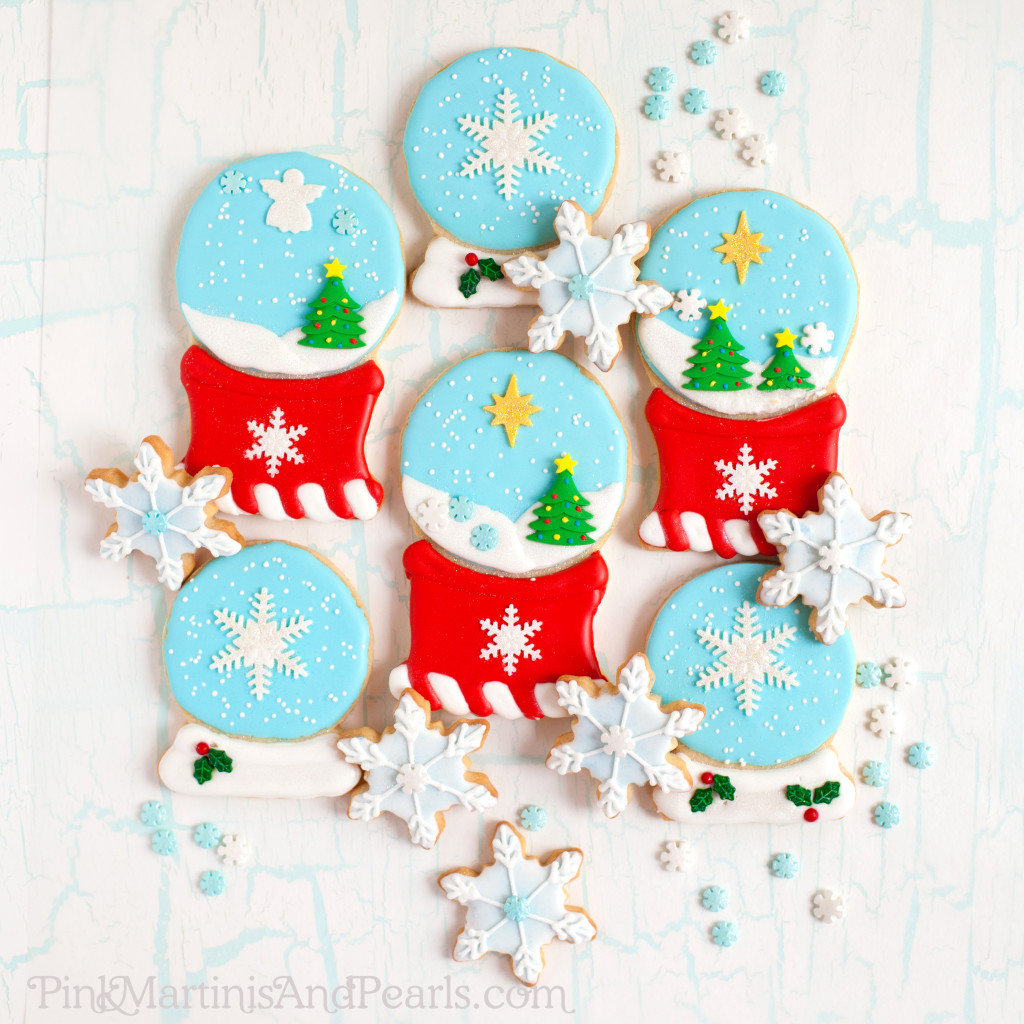
The large snowflake in the middle of the smaller snow globe is made with a snowflake fondant plunger by PME. I hope Wilton makes a snowflake plunger next year! That was a hint in case I wasn’t subtle enough of what’s on my 2015 Christmas list.
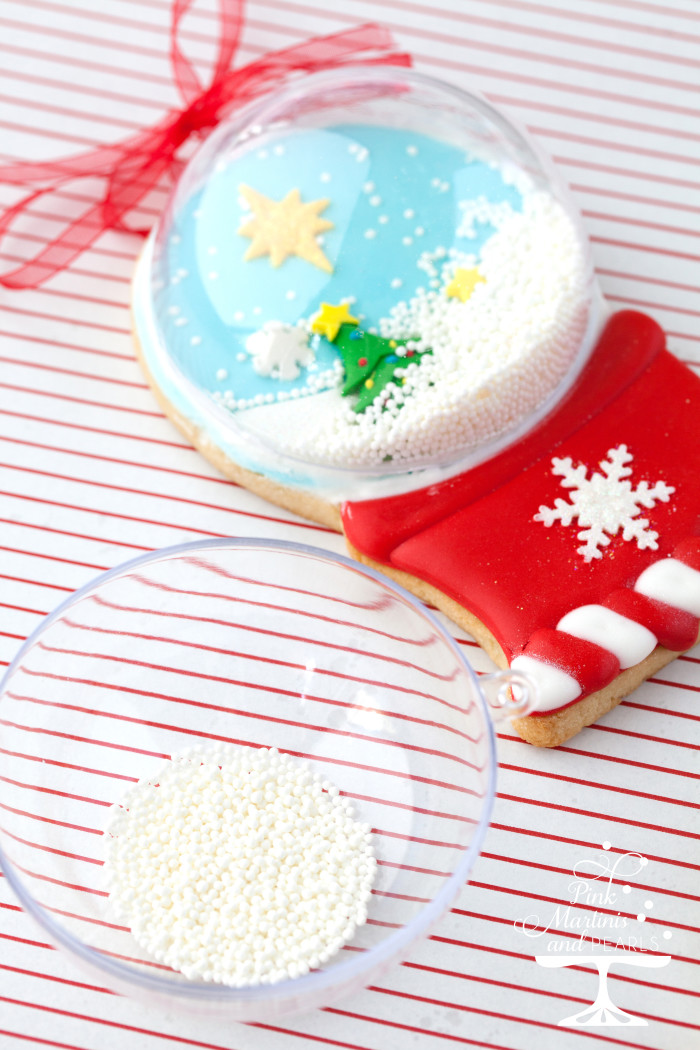
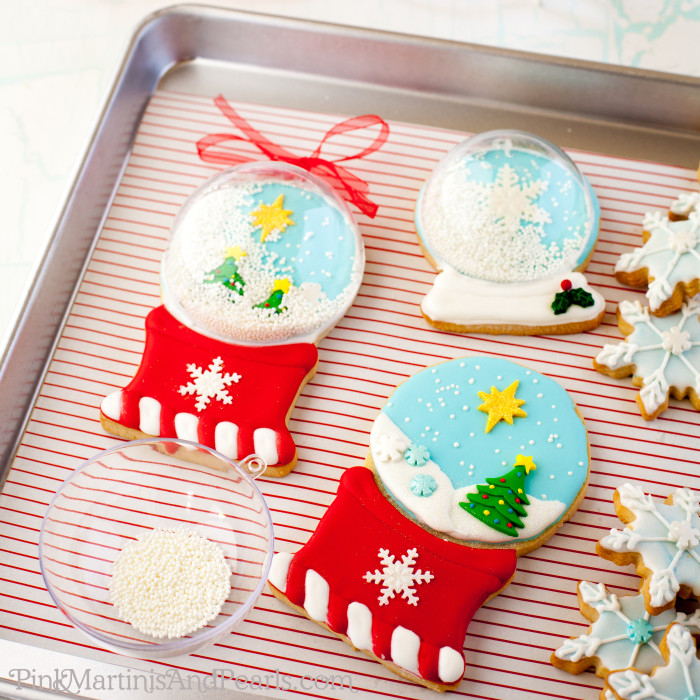
To make the snow globe cover, I found plastic ornament halves at Michaels and drew a template for the cookie design based on the ornament size. If the cookie bakes a little bigger than the diameter of the ornament, you can gently shave the edges of the cookie with a microplane. We could all use a little micro dermabrasion, right?
Place a couple teaspoons of white nonpareils in the ornament half for a nice snow flurry effect. Apparently a blizzard struck this snow globe! I can’t even imagine shoveling the real stuff.
Knowing where the plastic ornament half will sit on the cookie, run a bead of royal icing using a #2 tip on the cookie where the ornament will be. This will make a barrier between the cookie and the ornament (think caulking) so none of the sprinkles sneak out. Smooth the icing seam with your finger. You could also pipe a decorative edging (#14 star tip, shell pattern) around the plastic half to give that part of the cookie a more ornate finish but I prefer a simple edge.
I left some cookies with the tops off because I think they’re pretty this way too.
So how are you shakin’ up your holiday treats this season?
My thanks to Wilton for this opportunity to have some fun with our Sweet Treat Team! 🙂
Here’s some other Wilton Sweet Treat Team cookies exchanges. I know you’ll want to see what these creative bakers came up with too!
Hungry Happenings
Nibbles and Feasts
We Are Not Martha
Baking Bites
Framed Frosting
The Man, The Chef, The Dad
Momma D and Da Boyz
Sweet Life Bake
Sprinkle Bakes
-they’ll be 2 more added on Monday so I’ll update then.
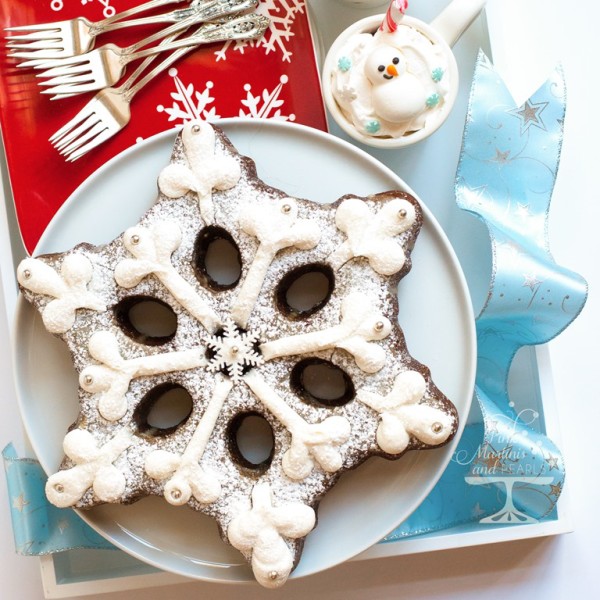
Are you making a cake for Christmas? You’ve got to get this pan… read about The Snowflake Pan where I made gingerbread in it. It is beyond awesome!!!
Recipes:
Sugar Cookie Recipe & Tutorial
Royal Icing Recipe & Tutorial
Wilton Products:
White Decorator Preferred Fondant
Holly Mixed Sprinkles
White Nonpareils
Jumbo Snowflake Sprinkles
White Cake Sparkles
Christmas Tree Royal Icing Decorations
#2 Plain Round Decorating Tip
Icing Colors
Disposable Decorating Bags
This is a sponsored post. As a Wilton Brand Ambassador, I received compensation and/or product from Wilton Cake Decorating. All opinions and endorsements of the products I mention are my own. If I didn’t love them… you know. 🙂
Wishing you all very happy holidays! xo
