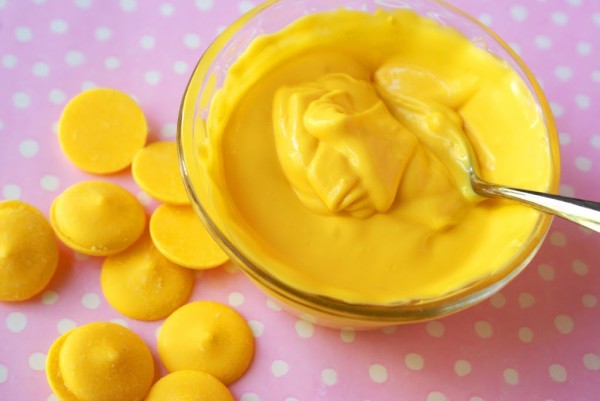
Since I’ve finished all my decorated Easter cookies I thought I’d turn to molded chocolate today. Candy coating, as it’s technically referred to, comes in all different colors and flavors but let’s call it chocolate.I melted the wafers in a small Pyrex dish on high for 1 minute in the microwave. Stir to melt all pieces. Heating to remelt the mixture after it cools, took 10 seconds.
Tip:
If you’re making a lot of molded pieces I recommend placing small individual Pyrex dishes for every color you’re going to be using in a dry electric frying pan set on low. This will keep your chocolates melted the entire time.
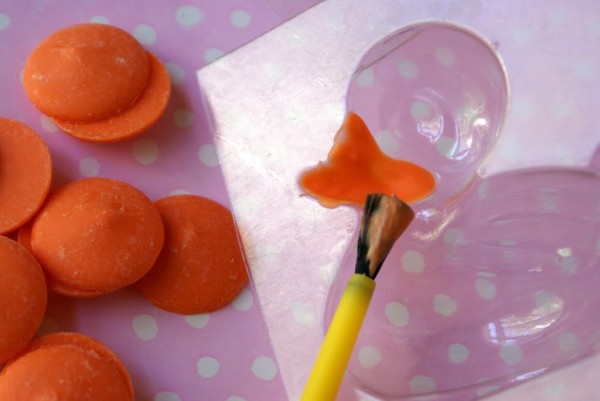
Begin with orange for the bill color. ‘Color in’ both mold halves on the bill.
I brushed it on but using a toothpick will give you more control.
Let the halves set up in the frig for a couple minutes.
When you take out the molds from the frig to fill with yellow, you need to let them warm up a bit or the orange will think it’s ‘done’ and pop out. Yep, sometimes chocolate does seem to have a mind of its own.
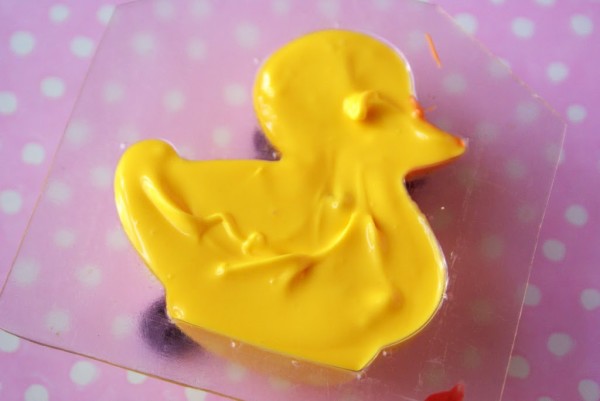
The yellow chocolate will stay fluid for a long time after it’s melted. If it’s too warm when the mold is filled it will begin to melt the orange, too cool and it won’t spread when the other half of the mold is placed on top. You’ll find the perfect balance.
There is another way to make a hollow mold which entails first clamping the mold together, filling from the bottom, flipping the mold over and letting the chocolate drain out but it is messier and takes longer and I prefer the method I’m showing for a home kitchen.
Back to the way I’m showing ~
touch up the edges of the bill again with melted orange on both mold halves so it will make a seal when the mold is clamped. Fill one mold half with melted yellow chocolate, place the other empty half on top of the filled mold and clamp together.
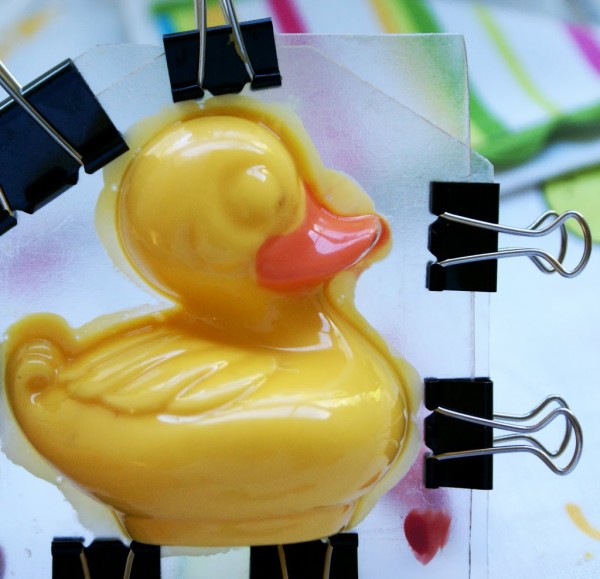
Make sure you line up important features. In this case it would be the duck bill.
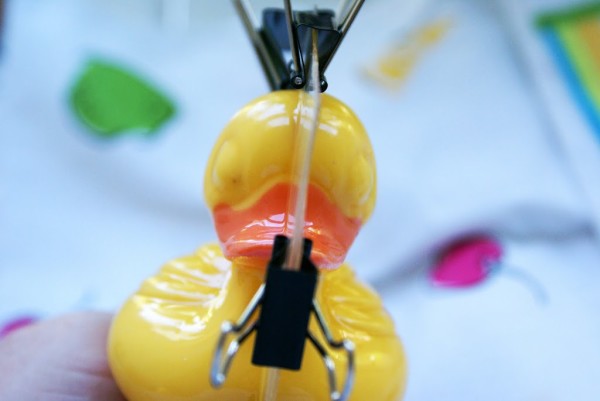
Shake the mold to distribute the chocolate. Place the mold in the frig and reshake every minute or so for a couple minutes. Let the mold get cold.
It’s easy to tell when it’s done, the chocolate pulls away from the mold but if you can’t easily separate the chocolate from the mold, put it back in the frig a couple more minutes and your chocolate will pop right out.
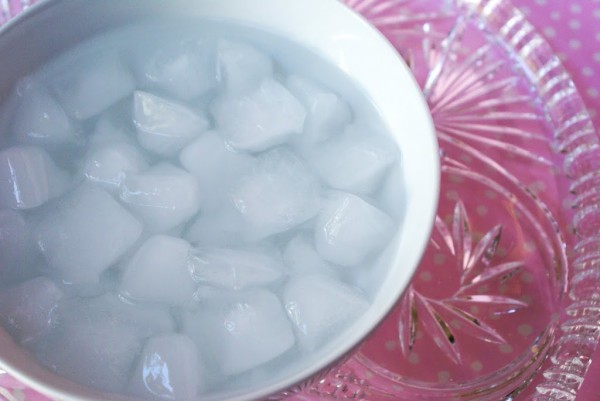
When the duck is de-molded there is finishing work that requires you to handle it so to guard against melting from handling and finger prints, I submerge my hands in ice water for a few seconds. You can also use thin cotton gloves which come in handy for packaging the ducks if you’re going to be doing a lot of that.
To finish ~
run a knife edge around the seams of the duck to trim off anything and put on the eyes.
The eyes are pre-made with royal icing.
Dab a small dot of melted yellow chocolate on the eye area and place the eyes.
They set immediately.
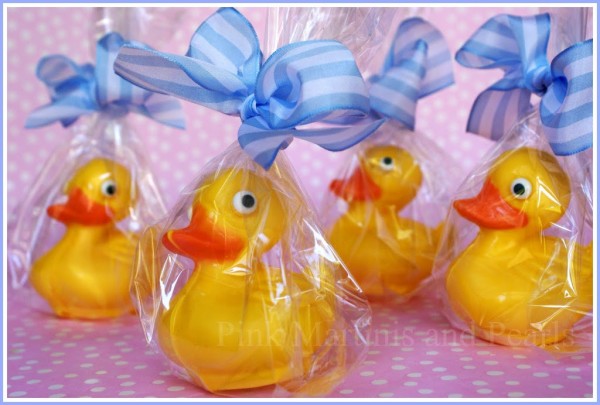
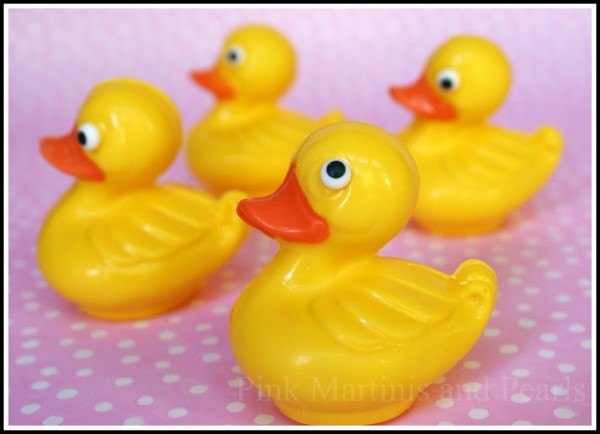
See how easy it is to get your ducks all in a row? 🙂
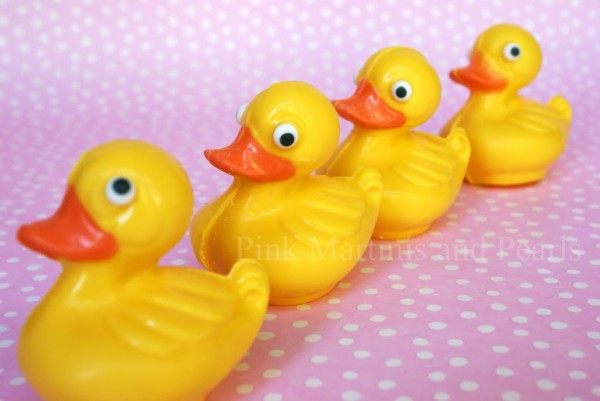
… and ready for Easter, for baby shower decorations or for baby shower party favors or even tied with ribbon in school colors if your mascot are The Ducks, like Oregon!
