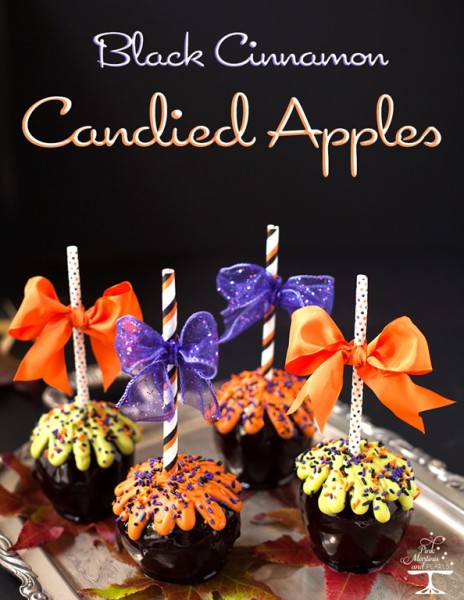
Trick or Treat! Happy Halloween Week! Here’s a treat that’s best made a day or two before the big night. It’s a twist on the hard candied apples that are usually colored red but I’ve made these black and cinnamon flavored. That would be the trick but they’re not tricky to make.
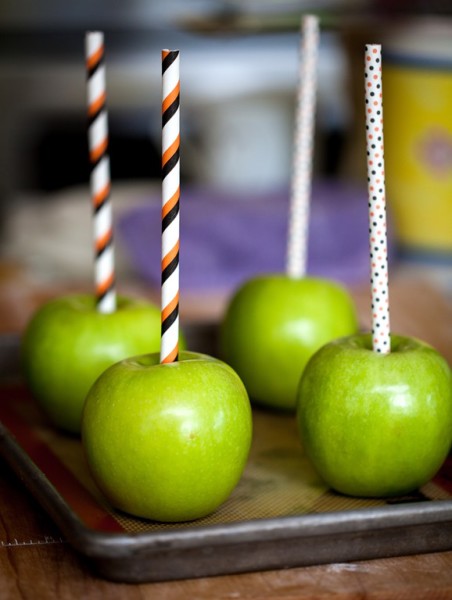
To begin, clean apples thoroughly to get the wax off. I did this by taking baking soda in my hands, dampening with water to make a paste and rubbing it over the apples. If you sniff the apples before the baking soda rub down and then compare it to the newly scrubbed apples, you’ll notice a more pronounced apple scent afterwards. This means the wax coating has been removed.
Place a wooden stick (pointed end helps) into the apple. I then used a Wilton lollipop straw for an added decorative element. This slid over my stick but if your stick is larger in diameter, you could slit the straw all the way up and slide it over the stick or you could puncture the apple and make a place to stick in the straw.
The Silpat mat I placed the apples on before dipping will hold them afterwards. Parchment paper will also work well if it’s coated to be non-stick.
The sugar mixture is simple –
2 c. granulated sugar
1 c. light corn syrup
1 1/2 c. water
Additions –
2 T. black decorating color
1/2 – 3/4 teaspoon cinnamon oil
In a heavy bottomed high-sided sauce pan, boil the sugar, syrup and water to 300 degrees. This is the hard ball stage. This means the sugar mixture will harden when it’s set. The sugar will stay at 200 degrees for a relatively long time, about 10 minutes but then it rises quickly to 300. Watch it or it’ll overcook and you’ll have caramel but not the soft, chewy kind. Let’s save that recipe for another time. A candy thermometer helps big time. You could do it without but it’s a complicated process to check by dripping the boiling sugar mixture into water at various times to see how hard it is when it hits the water.
When the sugar has reached 300, take it off the heat and mix in the color and the oil. Don’t panic if it looks kind of gloppy when you do this. It’ll will settle down and be smooth. To taste test the amount of flavoring. Take a spoon and dip it into the sugar mixture and then run it under cold water or let some sugar drip into a glass of cold water. You never, ever want to taste hot sugar. NEVER! You won’t have any taste buds left on your tongue. The cold water will immediately harden the candy. If you’re tasting by cooled spoon, make sure it’s cool enough for you to take a lick by touching the spoon first. Add more flavoring to suit your tastes.
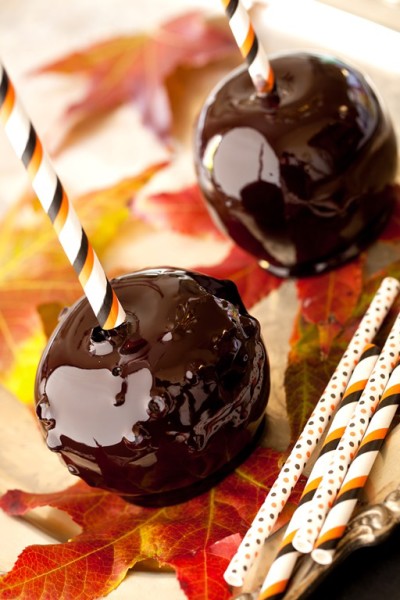
Before dipping each apple, make certain the stick is thoroughly secure. You don’t want the apple coming off into the sugar and splashing you. With the pan tilted, take each apple and dip it into the sugar and give the apple a twirl. Let some of the sugar run back into the pan. Place the coated apple on the silicone mat to set.
Your apples will quickly harden to a high shine and be ready to decorate.
Bubbles are a hit or miss thing. Personally, I loved them on the apples. Kind of wart-like and fitting for the holiday.
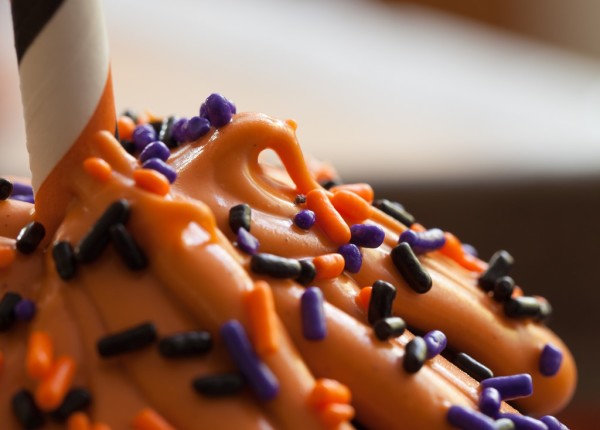
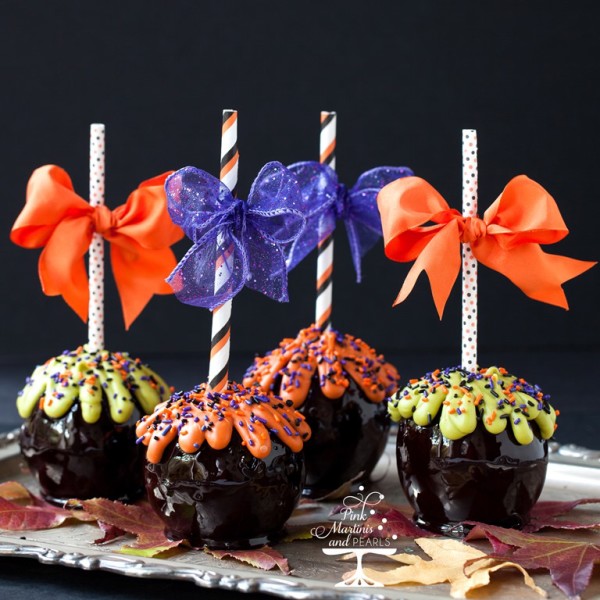
The shiny black candy is pretty as is but I wanted to go all out and add another layer of flavor and texture. I did this with melted candy coating and sprinkles.
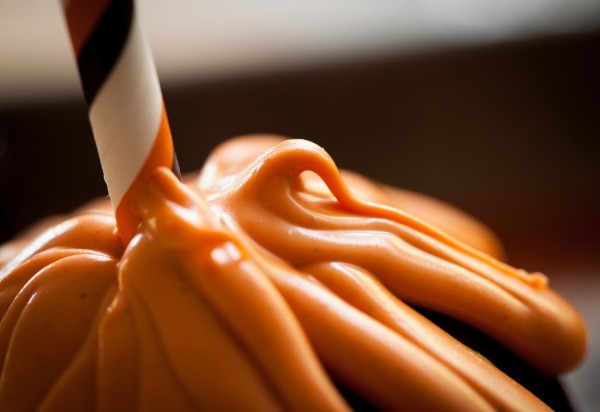
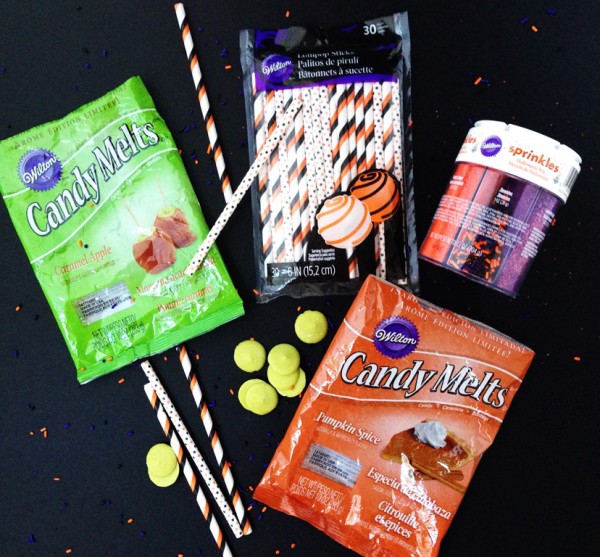
I melted Wilton’s candy coating in Pumpkin Pie flavored (orange) and Caramel Apple (green). They’re seasonal flavors and are so good. I mean really good, as in I barley had enough left to decorate the apples because the packages were opened a couple weeks ago and, well, you know how those things go, a nibble here, a nibble there, handing out samples to those who popped in. Did I say they were really good? I mean really good. I love Wilton’s seasonal flavors. I highly recommend giving them a try.
To make the melted candy coating look consistent on the apple, I placed it into a parchment cone and piped it on using an #11 plain round decorating tip.
I then added sprinkles. Sprinkles make anything look happy and that the party has begun, don’t you think?
I finished decorating the apples with pretty ribbon. Oh, the apples aren’t sitting directly on the cleaned real leaves, waxed paper is on the bottom. Sticking to the bottom of the apple, I cut the excess off with scissors. There’s a trend to insert twigs from the yard into apples. I’m kind of a sticker for not wanting sappy green wood inserted in my juicy edibles. Besides, the straws are so colorful and fun that I feel they really add to the festive presentation.
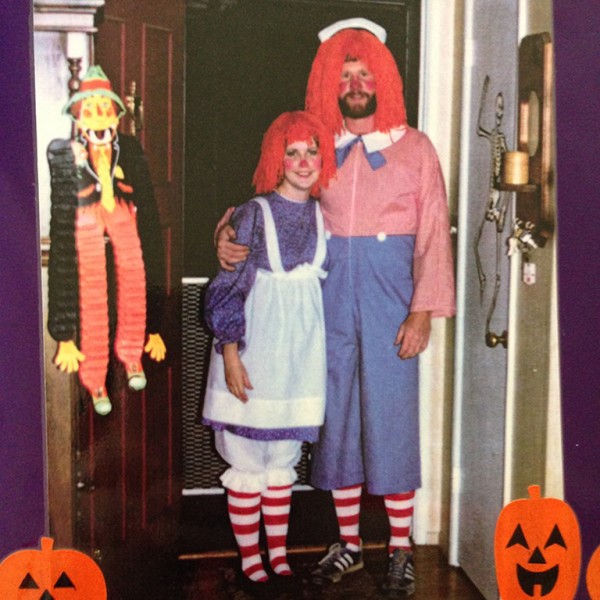
And just for fun, here’s a blast from the past Halloween party. I was so proud of the fact I made these costumes and yarn wigs. Apparently Andy was mature for his age with a full beard! And, yes “Andy” still married me after this and 31 years later we’re still going strong!
I think I have one more Halloween post I can squeeze in for us last minute pumpkin people, like me! Come back, if you dare!
Wilton products used:
Candy Melts – Pumpkin Spice
Candy Melt – Caramel Apple (if you can’t find this flavor but like the green try Vibrant Green)
Lollipop Sticks – Orange and Black
6 Cell Sprinkles – Halloween
As a Wilton Brand Ambassador, I received compensation and/or product from Wilton Cake Decorating. All creations, opinions and endorsements of the products I mention are my own. If I didn’t love them… you know. 🙂
Past Wilton Posts –
Decorated Ghost Cookies with Fondant
Fabulous Fondant Give-Away
Sea Life Fondant & Gum Paste Mold
Endless Summer Cupcakes
Pretty Pink Petal Cake
Fabulous Fondant Daisies
Father’s Day Golf Themed Cupcakes
My Trip to the Wilton Sweet Up (Visiting the Mothership)
Peeps Brunch Bunnies
Whimsical Springtime Brunch
Twist Quick Coupler Review
Sweet Treat Team
