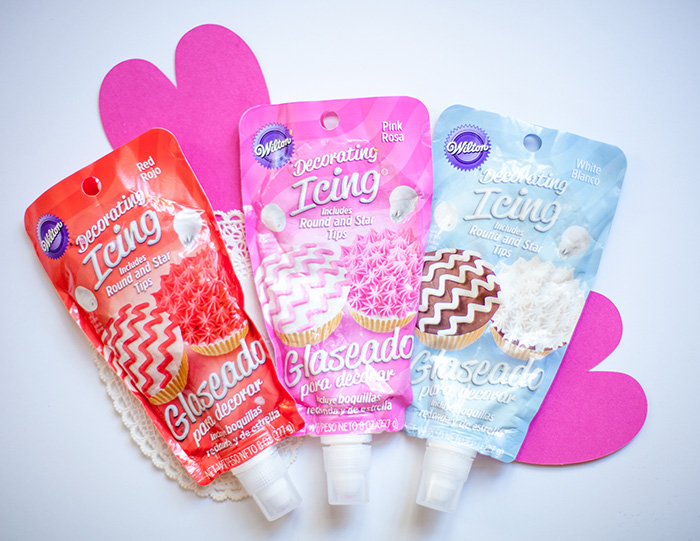
As a Wilton brand Ambassador, I’m most fortunate to be able to try new products and create projects with existing ones. For Valentine’s Day, I was sent Wilton’s Decorator’s Icings in pouches accompanied with sprinkles.
Remembering when my guys were little and to my room-mom days, I would have gladly welcomed the ease of ready made tinted icings since decorating cupcakes for the class party was usually done late the night before.
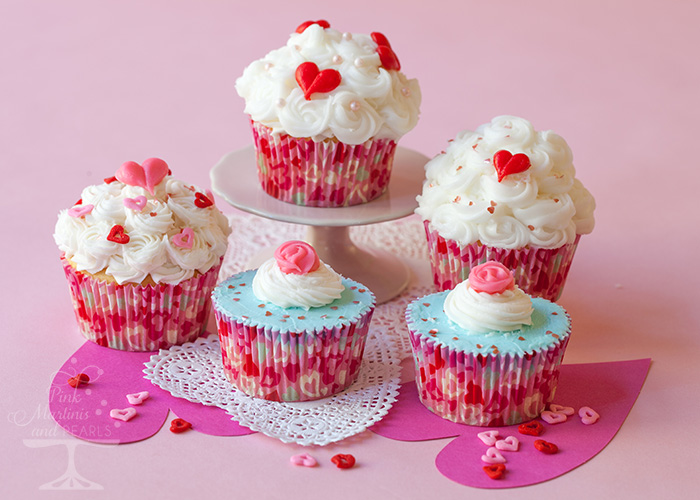
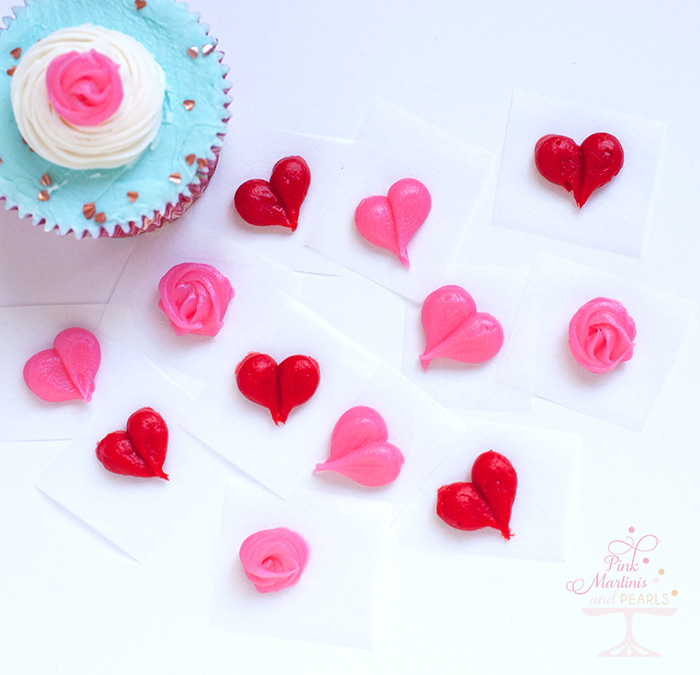
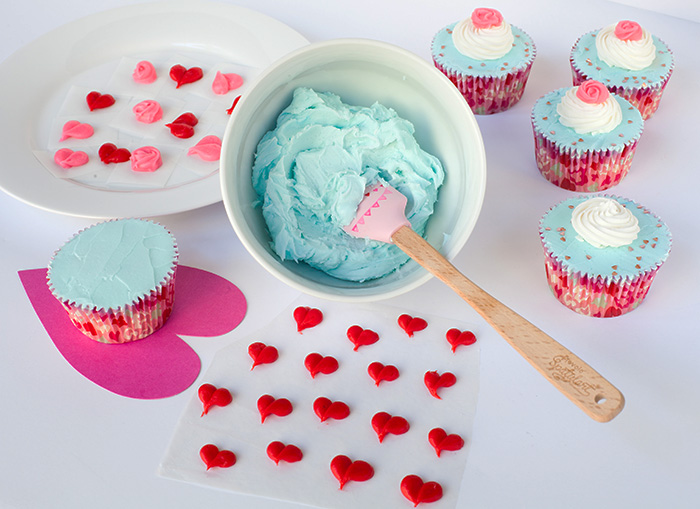
One thing you can do to save time is to make buttercream decorations ahead of time and freeze, then apply to the cupcakes when you’re ready to add your finishing touches. I made heart and rosette decorations for my cupcakes using only the tips that came with the icing pouches. It proves you don’t need lots of fancy decorating tips to make pretty designs especially if you’re just beginning to learn cake decorating or just want to simplify, like me.
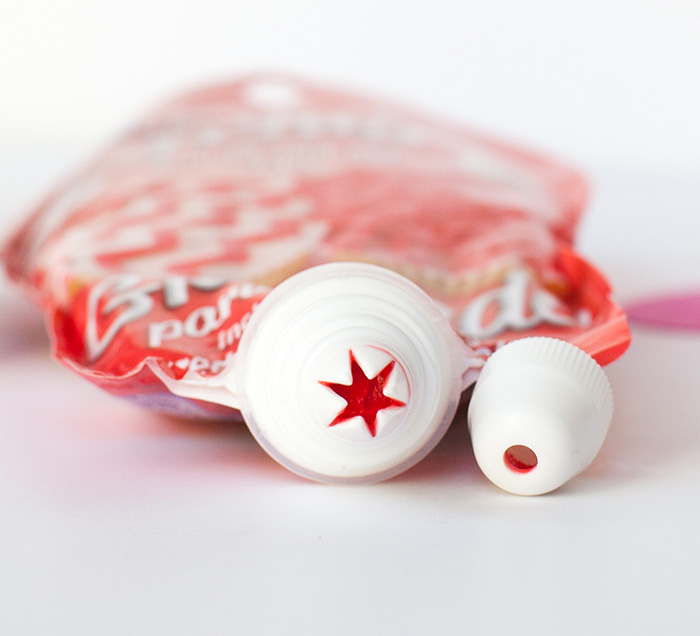
What I liked about the pouched icings was that I didn’t have to mix individual colors and each pouch came with two tips – a plain round tip and an open star tip. The plain round tip sits on top of a star tip. If you want to use the star tip you just unscrew the round tip. Is this cool or what?
You can also use the regular sized decorating tip of your own and secure it with the ring put of a coupler.
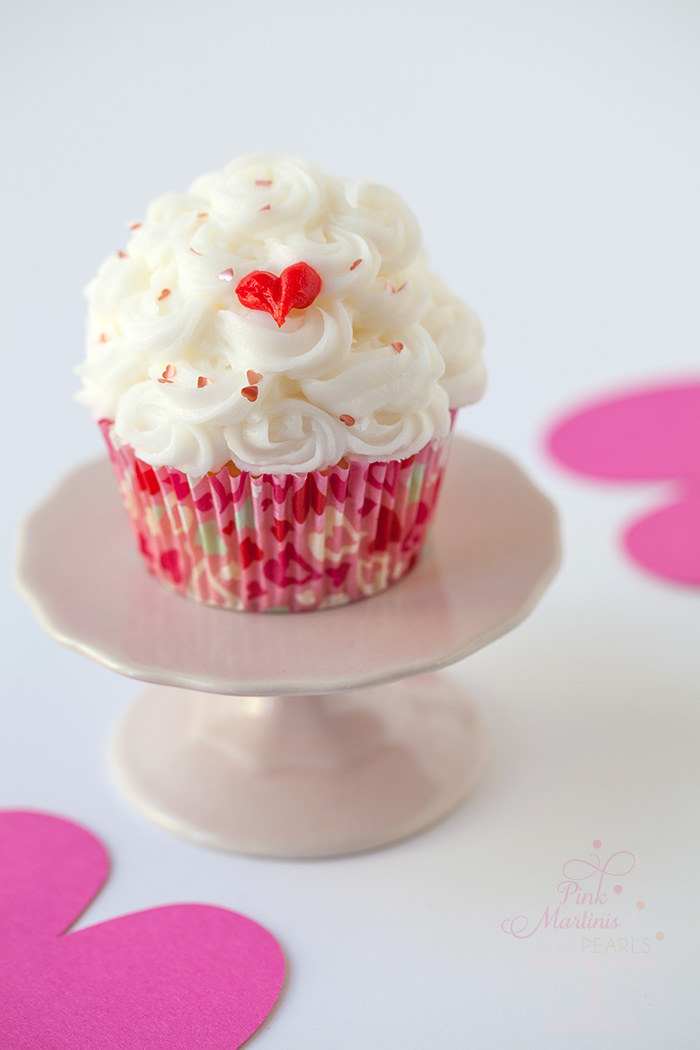
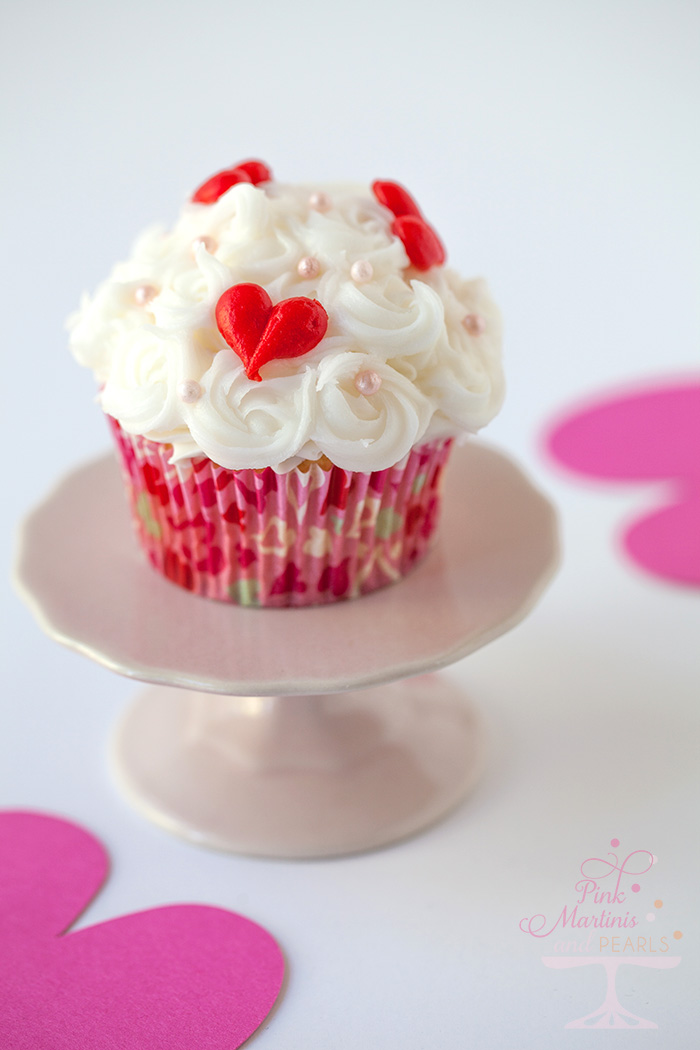
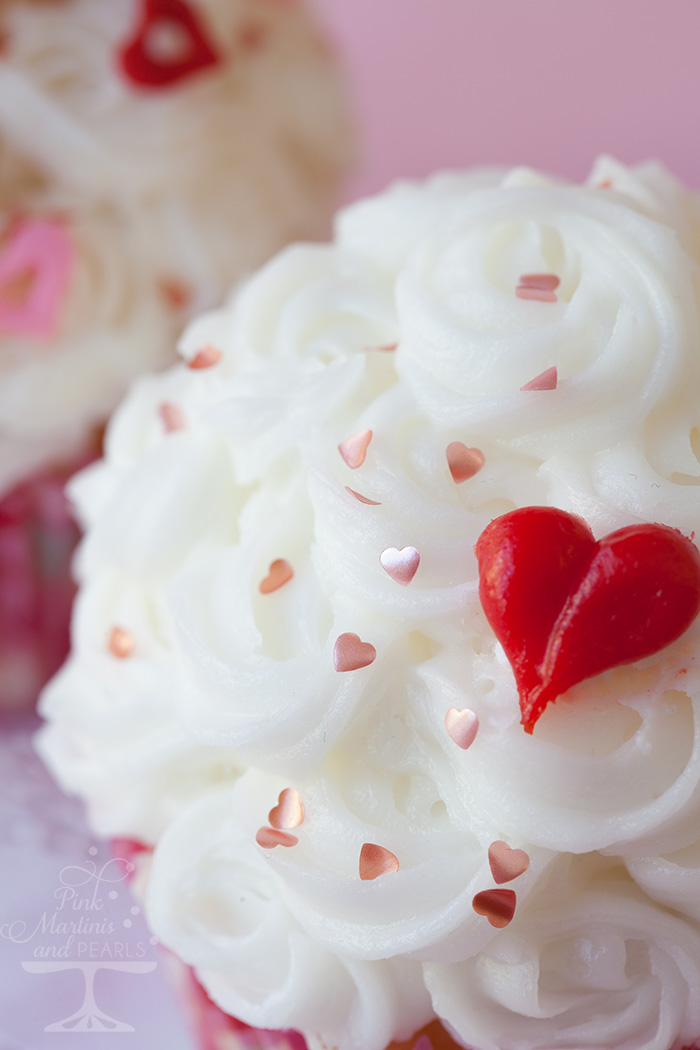
I made my white icing designs on the cupcake all the same – rosettes. Basically piping a rosette is like making this – @. You build up a small center then run the tip around the outside of the rosette. This worked well for a fancy cupcake base and for the decorations.
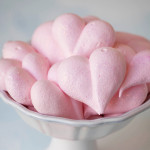
I used the plain round tip to pipe the hearts. It’s very easy. I wrote a tutorial on how to pipe hearts with meringue but it’s the same technique. You can read how to do it HERE.
If you’re wondering, “Why can’t I just pipe right on the cupcake?” Of course you can, but when the buttercream design has a lot of texture like the cupcakes I made, piping a decoration like hearts or rosettes on the surface can be challenging because of all the peaks, valleys and ridges, and it if doesn’t look as good as you want it to, you have to take it off and start over. For me, it’s much easier to pipe the decorations on parchment or waxed paper and place them in the freezer for a few minutes. They slide right off the paper and with a spatula, you can place your perfect heart or rosette right on the cupcake.
If your cupcake’s icing has crusted over use a dab of icing on the cupcake to secure the decoration.
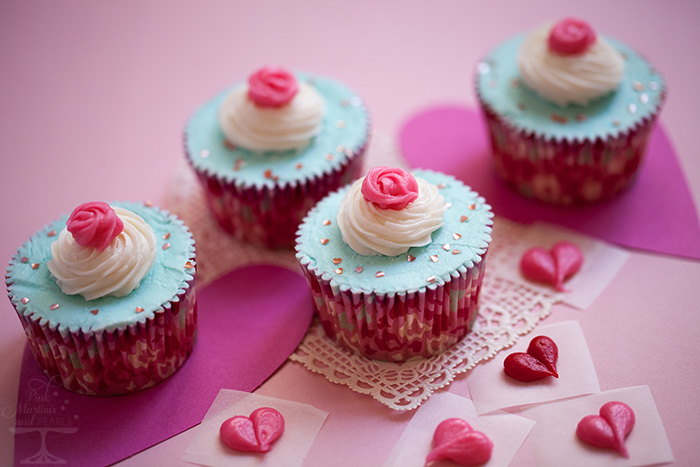
Another design I made was a flat-top cupcake. I slightly under-filled the cupcake with batter before baking. I then iced the top of the cupcake flush with the wrapper. It’s a very sweet and delicate look. Perfect for an afternoon tea.
After icing the cupcake with blue tinted icing, I swirled a large rosette with white pouched icing using the star tip. I then placed a small pink rosette made on top made with the same star tip from the pink icing pouch.
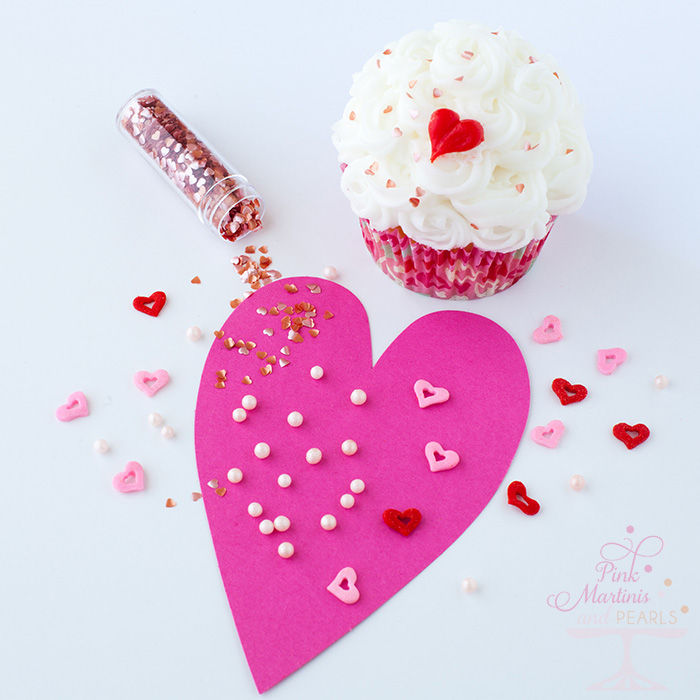
To complete my decorations I used a few of Wilton’s sprinkles, pearls and confetti hearts. Links are listed below.
I’m in love with these delicate little shiny, lustrous hearts!
I hope you enjoyed the cupcakes and that you picked up a tip or two to save you some time.
Here’s all the Wilton Cake Decorating products I used:
1. Pink Icing Pouch
2. Red Icing Pouch
3. White Icing Pouch
4. Pink Hearts Edible Accents
5. Fill Your Heart Sprinkles
6. Pink Sugar Pearl Sprinkles
This is a sponsored post by Wilton Cake Decorating. I received product and/or compensation for the blog post. I can highly recommended every product I used. 🙂
I’m also very happy and proud to be on Wilton’s Sweet Treat Team for 2015!
