With pie making taking center stage on Wednesday along with all my other prep work for Thursday’s dinner, I’ve planned ahead and taken some steps to make the day less hectic and more organized with “pretty” still in mind.
Truth be told, I cannot make a pie without a decorative crust finish. When I won the blue ribbon for my Dutch apple pie at the Orange County Fair, one of the judge’s comments was how pretty the single painted apple cut-out was on top of the pie and how it added to the presentation.
I made my first pie of the season this past weekend because it was my mother-in-love’s 92nd birthday and she loves pumpkin pie. Who says a birthday has to be celebrated with a cake?
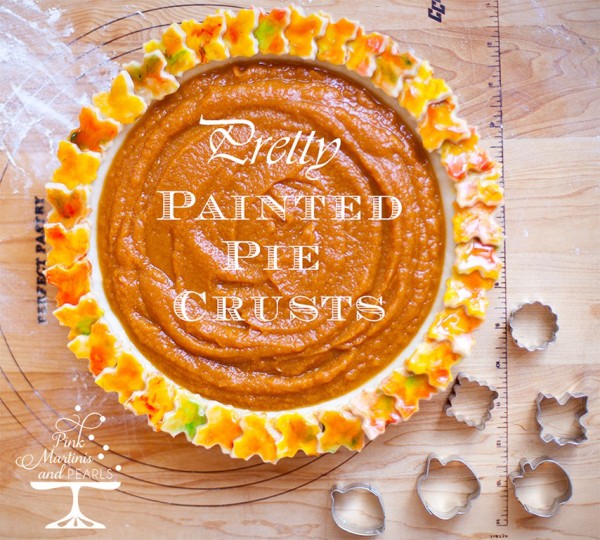
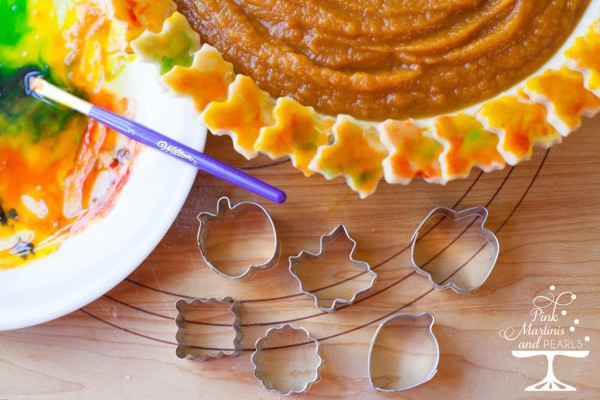
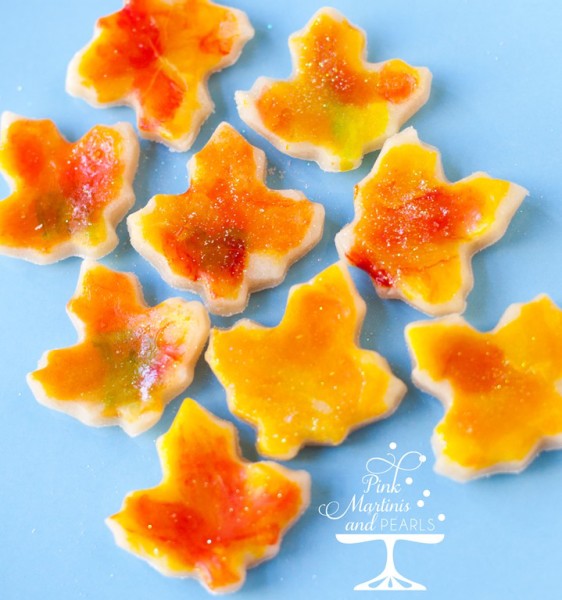
I used Wilton’s 6-pc. Pie Crust Cutter Set to cut leaves out of the pie crust scraps to add the decorative maple leaves and I’m going to show you how to paint the pretty colors.
I’ve used Martha Stewart’s recipe for Pate Brisee for my pie crusts forever. It’s the best. Apparently the OC judge’s liked it too.
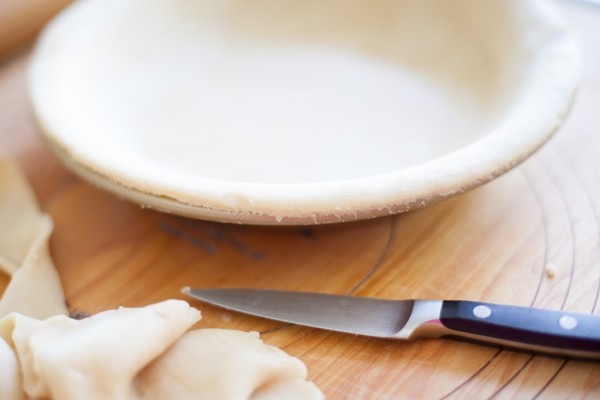
I found it’s best to prepare your crust with a simple cut edge so the leaves have a wide, flat surface to adhere to.
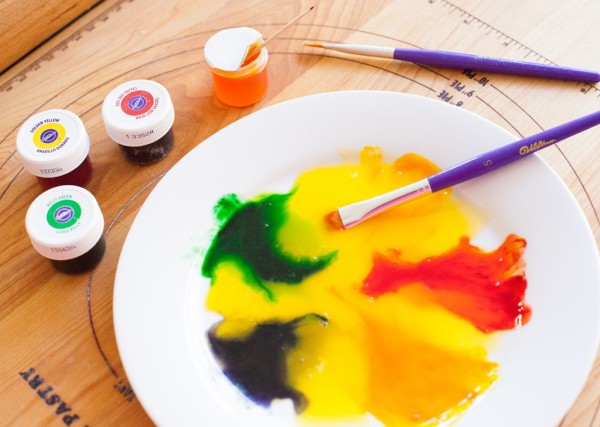
To make the “paint” take 2 egg yolks, slightly beaten to break them up, and place them in the middle of a plate.
Add Wilton’s Decorating Colors around the inside of the plate. The colors I used were kelly green, golden yellow, red and lemon yellow. I also experimented with a purple but I don’t recommend using it. Keep the colors in the lighter hues and a swipe of green only to add depth once in awhile.
I used the egg yolks and the spots of color like a painter’s palette and pulled the yolk into my colors.
Paint each individual leaf with the colors. There is no right or wrong. I like mixing colors – painting some yellow then perhaps some red on the tips of the leaves.
Pretty pastry leaves.
I admit to adding some glittery sparkle. I just can’t help myself.
These can also be made days ahead or frozen. Thaw before placing them on the pie or place them on the pie crust then freeze the entire crust.
Adhere them to the pie edge by moistening the pie crust edge with water or more beaten egg yolk. I prefer water.
Place your leaves around the crust edge pressing a little to make sure they have adhered.
Bake your pie as directed BUT I found the colors do darken when baked so I recommend covering the pie crust’s edge with foil or with a pie crust guard after the leaves have had a time to set.
You can also bake the leaves separately on a baking sheet and remove them from the oven before they brown too much and use them to garnish dollops of whipped cream on your pie slices. I add this special touch to my final presentation before we dig in.
The cutters can be found at Michaels and Jo-Ann Craft Stores or wherever Wilton is sold near you!
Happy Thanksgiving!
This is a sponsored post. As a Wilton Brand Ambassador, I received compensation and/or product from Wilton Cake Decorating. All opinions and endorsements of the products I mention are my own. If I didn’t love them… you know. 🙂







Simply Beautiful!
Thank you, Beth!