For two….
…or more.
Either way, a bit o’ the bubbly always makes a celebration sparkle.
In this case, for an engagement.
Best wishes to the happy couple!
DIY Champagne Glass Cookie Party Favors:
Things You’ll Need:
-
Gold cake coloring (I used Americolor Gold)
-
Icing decorating bag or parchment cone
-
#3 decorating tip
-
Gold dragees (two sizes)
-
White colored pearlized luster powder (optional) (one brand is Wilton)
-
Super gold luster powder (optional)
To Decorate:
-
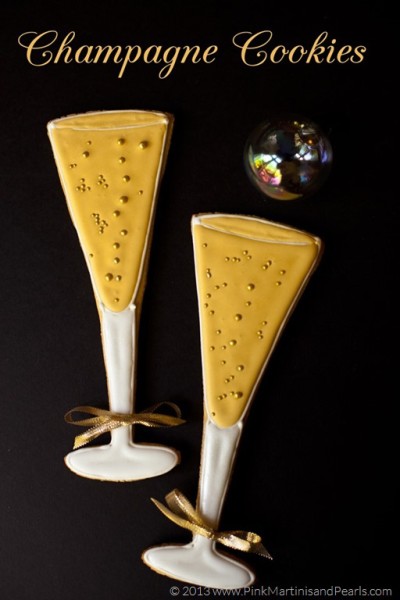
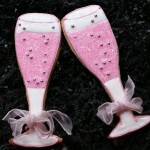
Outline the entire cookie in white (that’s what I did ) or gold, making a little rim on the top of the glass and a little curve to show separation from the glass and stem. Let set about 15 minutes of more.
-
Fill in the stem in white thinned royal icing. Let set about 15 minutes.
-
Fill in the glass flute with gold colored thinned royal icing.
-
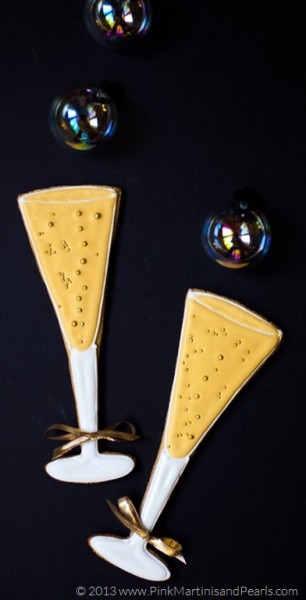
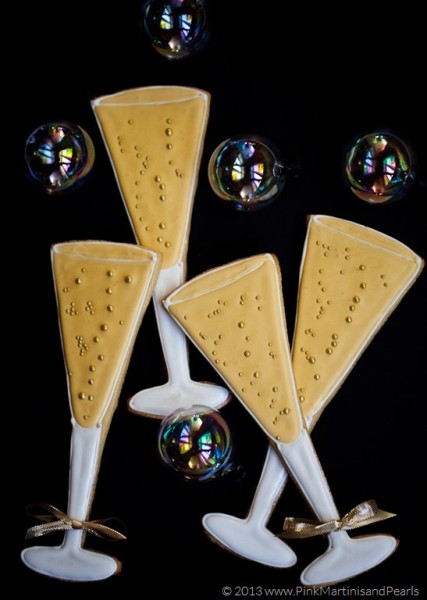
While the gold icing is still wet, sprinkle one line of the larger gold dragees from the bottom up to mimic the bubbles rising in champagne.
-
Follow with smaller gold dragees sprinkled here and there.
-
Let the entire cookie dry over night or the equivalent timing.
-
With a small natural bristle craft brush, brush white colored pearlized luster powder over the white icing. This will give the white a nice sheen. (Wilton is one brand who makes this powder and is widely available)
-
Brush super gold luster powder over the gold icing. It can be brushed over the dragees too. So pretty.
My Presentation:
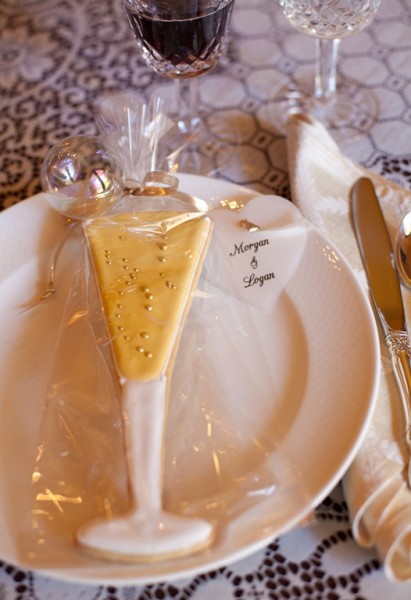
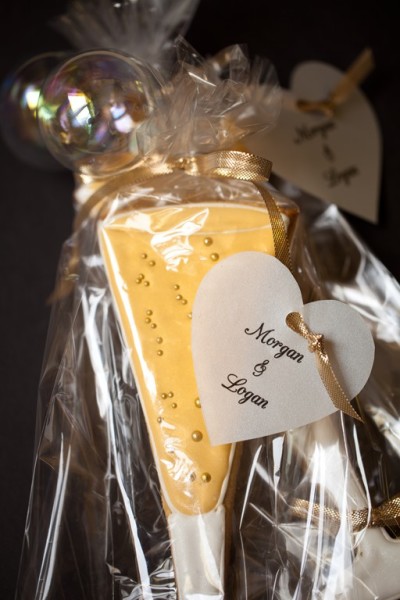
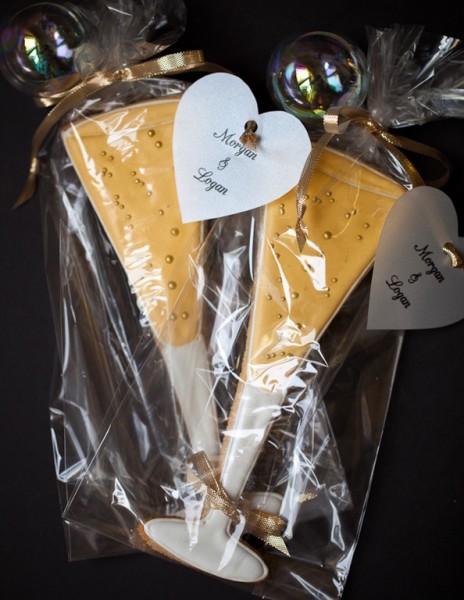
I tied a thin gold ribbon around the cookies for “the ladies” but this is optional. Place each cookie in a cello bag. Tie the bag closed with shiny gold ribbon in a bow leaving the ends long. Wrap the wired glass bubble ornament around the top of the bag.
The heart-shaped tags were printed on pearlized vellum using the CAC Champagne font I found on Font Squirrel. Punch a hole in the top of the tag. Using the ribbon tail opposite the bubble (since I placed the bubble off center), run ribbon through the tag. Tie the ribbon end in a knot. This lets the tag float. The reason I didn’t add the tag closer to the bow, was because it blocked the view of the top of the cookie which I felt was needed so the guests could see right away this was a champagne glass.
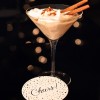
Cheers!






Cheers! So pretty! And everyone can partake, no designated drivers needed!
So cute!!!!
Beautiful! And the bubbles just MAKE these photos wow!
This comment has been removed by the author.
The bubbles are genius.
As usual, amazing….down to every last detail. Incredible!
Stunning
How insanely adorable!!!
I was overly curious with those bubbles. At first, I thought that those bubbles where real bubbles and then after I read the article I found out that it’s an ornament. It is really very cute and I love the entire set up of the party favors. – http://www.westeastimports.com