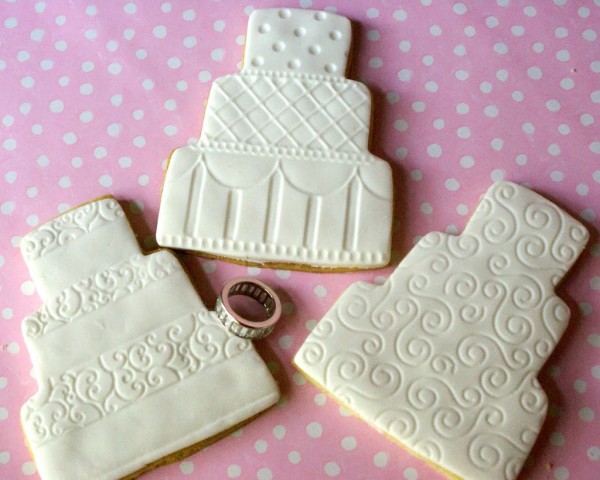
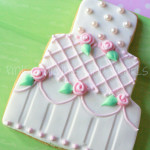
While I was looking for a different cutter to use, I came across this kit of a 3-tierd square shaped cake and 3 embossing sheets to use with rolled fondant. I couldn’t wait to get my hands on them!The kit is called Cookie Cutter Texture Set by Autumn Carpenter.
There are also some informative video tutorials on the website which I found while putting this post together, of course, this was after I had made my cookies, rolled the fondant, etc,. etc., etc.
But you can see them first before you give this a try. 🙂
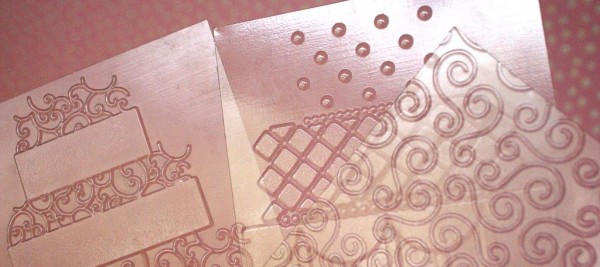
The sheets can be used to either to imprint the pattern into the fondant or give a raised pattern effect. Flipping the sheets over does this. I opted for the impression into the fondant. The technique is very simple and the templates are very easy to use.
Before you begin, place a little powdered sugar or a very light dusting of cornstarch on your rolling board. Also give the template a slight rubbing with the same before placing it on the fondant. You don’t want the fondant to stick to the board and you don’t want the template to stick to the fondant.
First, kneed the fondant a little bit to make it more pliable then roll it to 1/8 inch on a smooth surface. I used Satin Ice fondant. It smells and feels like Play Doh. You’ll feel 5 again.
Place the template on top of the fondant and roll over it with your rolling pin pressing slightly as you roll over the plastic template.
To get a raised pattern on the fondant, place the template on the board first then covered it with the fondant and roll using a firm pressure to press the fondant into the design.
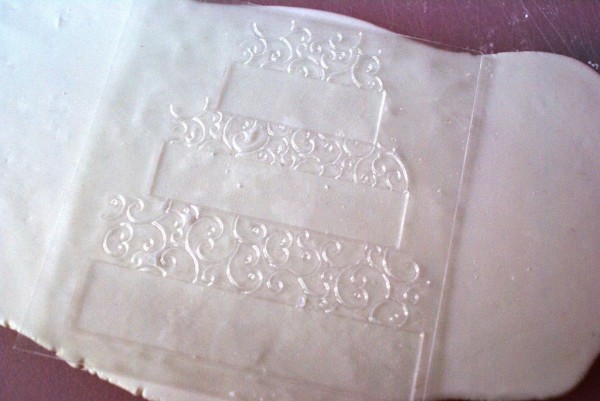
Carefully life the template off.
You should have a perfect impression.
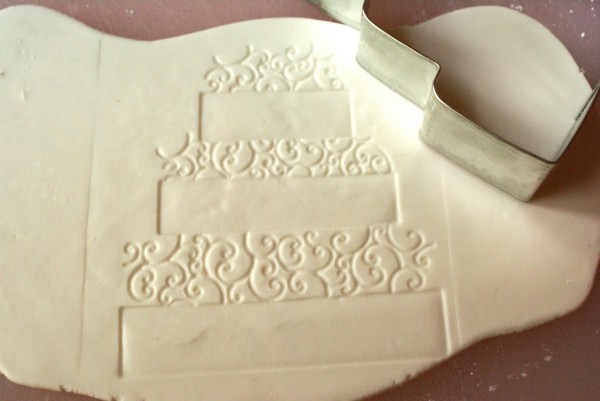
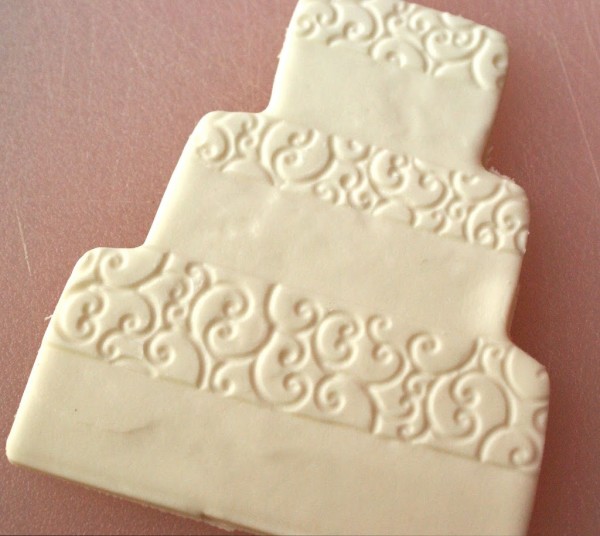
Next, take the cutter you used to cut your cookie and place it over the fondant design and press as you would if you were making a cookie but don’t twist the cutter. Twisting might distort the design if the fondant is softer.
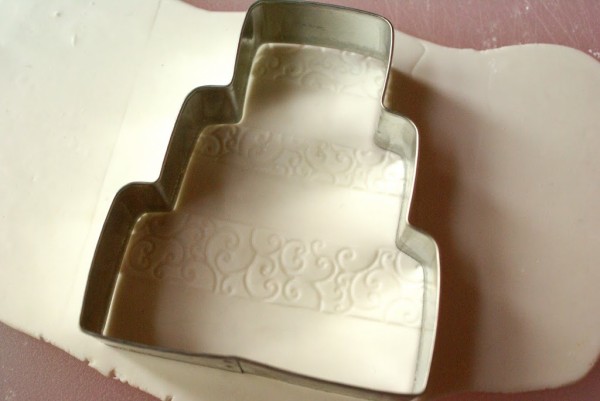
Tip ~ If your fondant is a little too soft, moving it from the board right away could also cause it to distort so wait a few minutes or more then you’ll be able to handle it with a spatula.
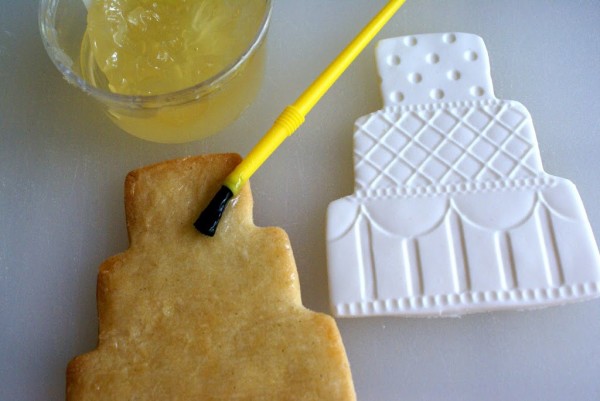
To prepare your cookie so the fondant adheres to it, brush a light coating of piping gel or corn syrup on the top of your cookie and place the fondant cut-out on top. This will hold it like glue once it sets.
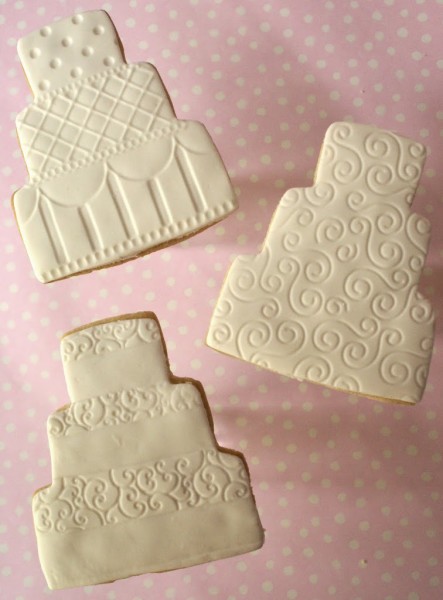
This is the biggest secret, in my humble cookie decorating opinion, to the perfect marriage of cookie and fondant ~ if your cookie spreads while baking (uh-oh, you didn’t use my sugar cookie recipe) and is a lot bigger than the fondant cut-out, your cookie/fondant union will be off to a rocky marriage. I think the two should be the same size.
Here’s what you do so you’ll never have that problem… re-cut the cookie with the cutter while it’s still warm or you could do it with a cooled cookie. Both ways can work but the ‘cooled version’ requires a mantra of ‘oh please, oh please, oh please’!
You don’t want to come all this way to risk cracking your cookies so I recommend doing it while they are still warm but not the minute out of the oven or the edges will crumble. Really, this is easier than it sounds.
Next is decorating! And that’s part 2.









Oh Honey, these are lovely. She is so lucky to have you and your skills!! I hope your week is off to a great start-
XO D
These are just beautiful! The impressions are the perfect touch.
Jo
Almost too pretty to eat!
In awe yet again of another one of your creations…they are so delicate and beautiful…..amazing what can be done with a cookie!
Gorgeous! You are so talented.
WOW! These are great. Makes me want to do the things my heart clamors to do: make cookies.
How is it that I am the one triplet without an ounce of bakery magic??? :0) Guess I’ll have to rely on my “sista’s” for the culinary delights. (P.S. did I miss the picking of the name for your company?) xoxoxox
Autum Carpenter is so creative and a very sweet woman. LOVE HER and her ideas. Now with that being said, it does take someone with talent, creativity, and willingness to actually do it to make such beautiful cookies happen. The “secrets” help make everything happen…..yay!!! Keep up the good work. YUM!!!fi
omgoodnessssss. I know these will be over-the-top spectacular once you paint your magic into them, but I’ve got to say … even without a stitch of decorative icing, these are just plain stunning.
ps. from a photographic perspective – excellent job keeping all the detail in the white-on-white decoration 😉
These are the perfect touch for a beautiful spring wedding. Looking forward to seeing part 2!
Really like these! Would choose this set over the other set you tried.
xo Cathy
How do you make the royal icing hearts? Your cookies are beautiful!
Thank you, Cindy. The hearts are made with thinned royal icing and either a #2 or #3 plain pipping tip. You can find my recipe for royal icing on my side bar. 🙂