I promise soon I’ll have a post that isn’t cookie related but it’s been my world for the last few weeks.A few weeks ago I was in Paper Source with a friend where I found this stamp and immediately fell in love with the saying and font. I had to have it!
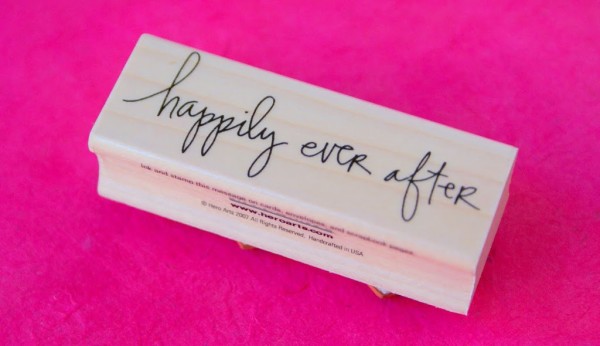
I knew it would be perfect for wedding cookies!
Why couldn’t I stamp a cookie?
I’ve never seen a stamped cookie before but it became my quest to figure out a way to do it and how to get the best impression.
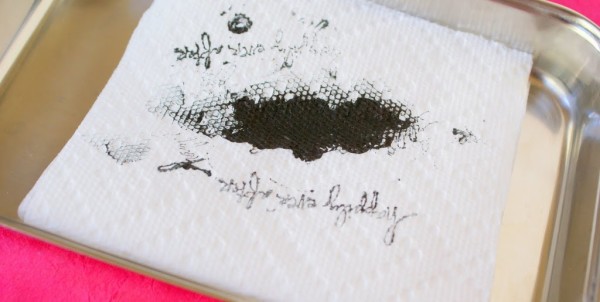
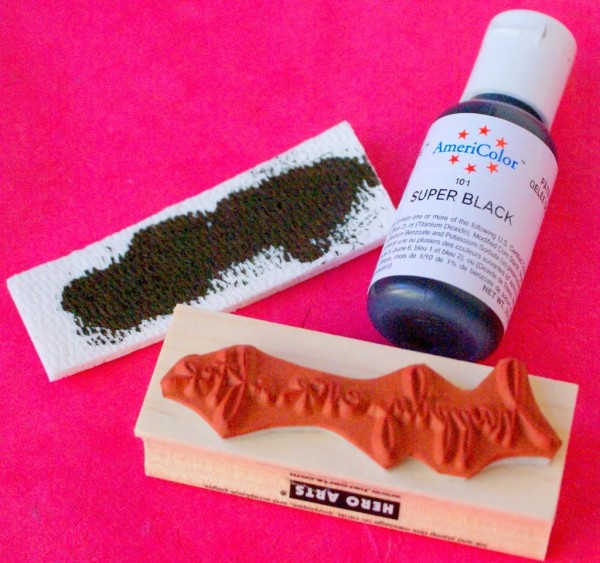
Stamping down into the paper towel put too much ink all over the stamp. Yuk.
Luckily, AmeriColor gel rinses right off and doesn’t stain the stamp.
The trick is to take the ink source to the stamp and dab it on, so I had to perfect my ink delivery.
I made my own ink pad by taking a flat, firm, unused sponge that I cut the same size as the stamp and applied the food gel to it.
I then took my new ink pad in one hand put it over the top of the stamp and dabbed it.
Sorry I couldn’t get a picture. I don’t know how to use the timer on my camera – yet!
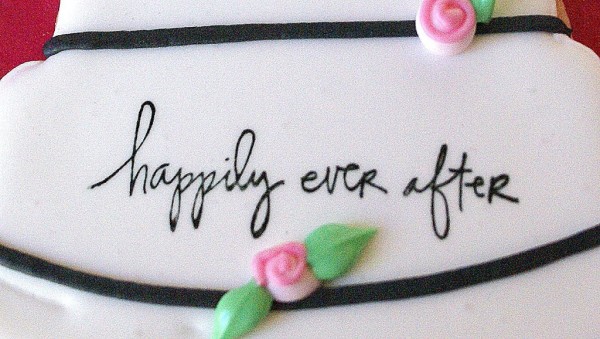
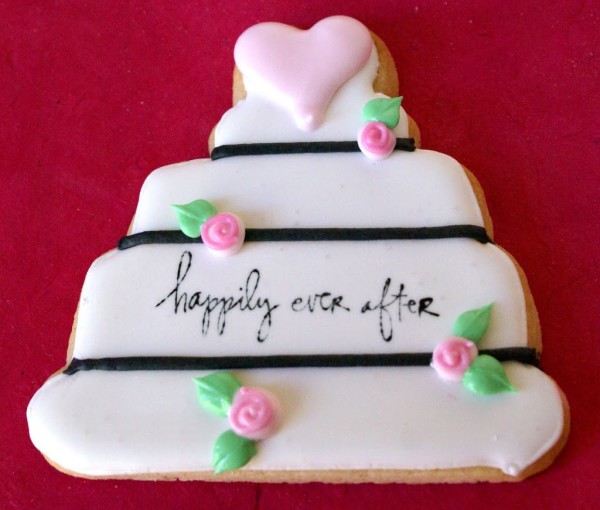
Anyway, it worked great!!
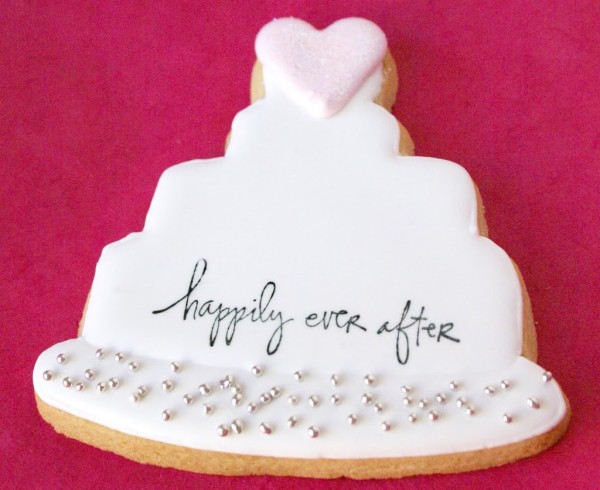
I realized it’s best to stamp the cookie before doing any serious decorating in case I wasn’t exactly pleased with the image. So do your base icing first, then stamp.
Here’s the same cookie with a little more detail added.
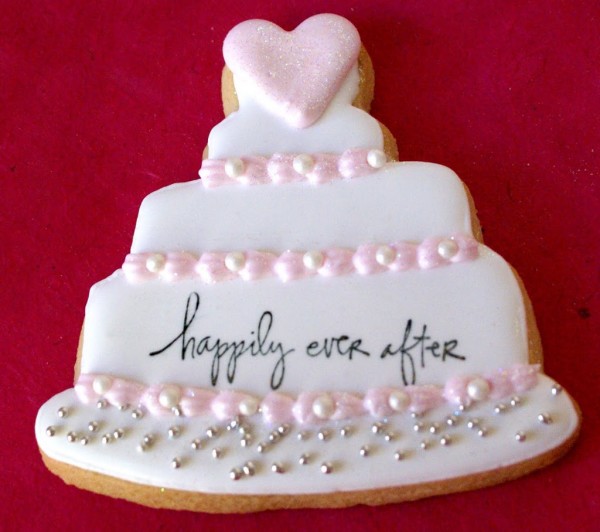
Don’t look too closely at the design.
Not my style and kind of *yawn* boring I think but I was zipping through it to see if I liked a pink border. I didn’t. I tried to fix it with white pearl dragees. Nope. Not doing it for me.
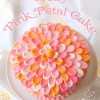
Here’s a cookie with pink pearl dragees ~
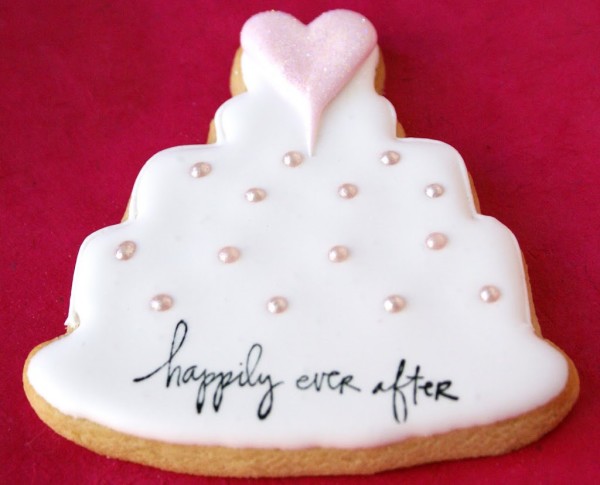
I liked the elegant simplicity of this design especially for a bride who doesn’t want to go all florally. (Is that a word?)
accents so I tried to incorporate all the elements into this prototype cookie.
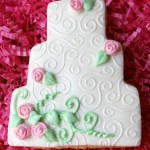
Cookie with rounded bottom ~
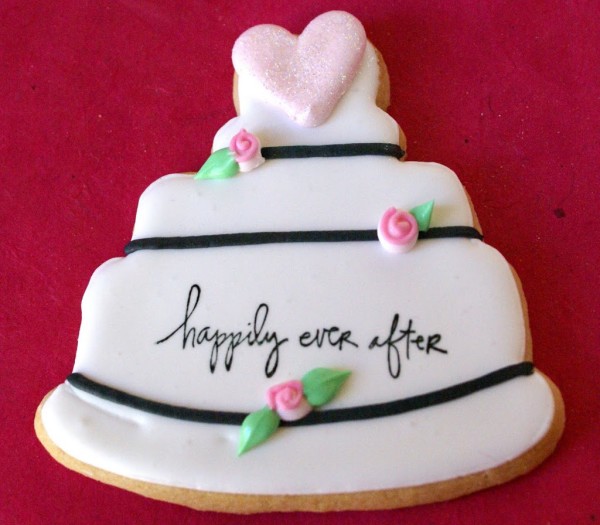
I think something is need on the ‘tray’ layer but I don’t know what quite yet.
Perhaps a pink color?
Cookie with flat bottom ~
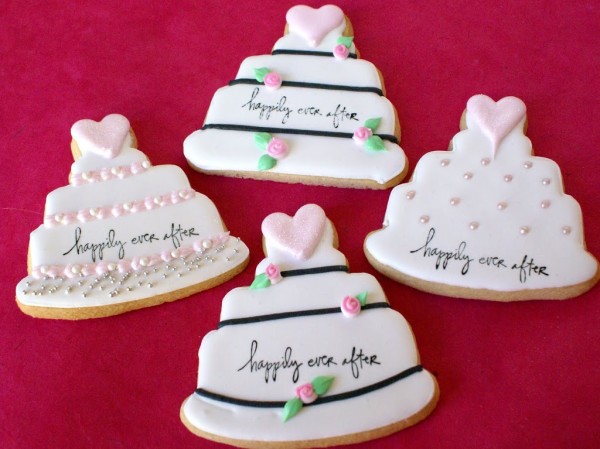
I’m sending them to the bride so she can mix and match design elements.
Since I’m just beginning the thought and design processes, I’m open to suggestions and ideas! 🙂







I like all of them but really, the one on the left is my favorite:).
Those are really just too cute to eat. Something that pretty has got to bring the lucky couple a lifetime of good luck:) They are wonderful as always! Stop by for my first giveaway, a beautiful french chair!
http://www.theenchantedhome.blogspot.com
Love them all. I especially like that the writing is not dark- looks vintage, old fashioned, and pretty!
All of them! But if I have to pick one, I’d choose the rounded bottom w/ black bands. Based on what you said about her wedding cake, I think this is similar??? Keep us posted!! xoxo
Genius! Thank you so much for sharing this technique! I love them all, but the bottom one is my favorite. 🙂
I agree with the previous comment that they’re all too pretty to eat. I like the one with the black bands…so modern.Hope you’re doing well!
I love all of these!! I’d love to have something like that for my wedding!
Those are lovely. The ones with the black bands are the most memorable, I think. They make me want to “look at them”.
How lovely are these! It is sooooo cute. I would definitely get one for myself. :p
Carrie
http://readmylifeascarrie.blogspot.com/
Beautiful! I like the one on the right, especially.
How clever! I learn so much from you. Thanks for sharing your ideas and skill.
They are all lovely, but my favorite is the one w/ the rounded bottom and tiny roses.
They are all gorgeous but my favorite it the pink with the silver balls.
I like all your cookie posts, you are so talented..
I like the one on the right the best with the pink dragees..
I wish I could get them all!
These would be absolutely perfect for wedding favors! Love the one with the pink layers. 🙂
I really love them all! Honestly I like the two pink ones the best! This is such a great idea and will definitely keep it in mind for my wedding!
This one “takes the cake”…really! I love it!
Mary Ann
oh auntie pasta!!! these are great!!! WOWzers!!! i really like the rounded cake with the black bands!! ahhhhhh you are ahhhhh-mazing!!!
As usual…amazing!
Love the curved bottom, black banded cookie. The simple modern look is perfect!
I concur with Mizz! Can’t wait to see them! We will have fun won’t we! I am totally bringing my dancin shoes!
i’m planning a friend’s bridal shower right now! this was the perfect item to stumble upon! brilliant!
Your cookies are beautiful and I can only dream that mine will look this good one day.
Here’s how I stamp on cookies (just an idea)This has always worked well for me.
1. Buy an unused foam stamp pad (with no color-obviously).
Add your color directly onto the empty stamp pad. Use airbrush color-This is the key for a cleaner sharper image – it’s thinner and works great). Mostly I use black and then fill in with either my Americolor pens or color gel with a little water and paint directly onto the cookie.
3. I like the stamps that you apply to the acrylic blocks. They are interchangeable and clear so you can see where you are stamping.
4. Press or gently rub the pad onto the stamp. (Pressing the stamp into the pad doesn’t work for me I just get a big mess).
Happy Decorating..There’s nothing like a pretty cookie.
Thank you for the thorough info. Yep, I used an unused stamp pad for the vineyard cookies I made in October. I found the pad at Joanne’s. It worked great with Americolor straight from the bottle brushed on to the pad. I would definitely do this again this way.