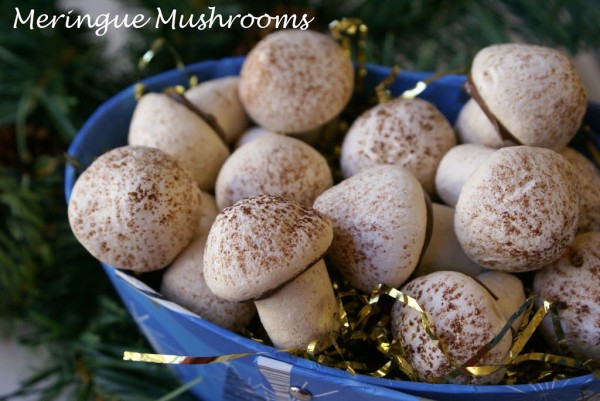
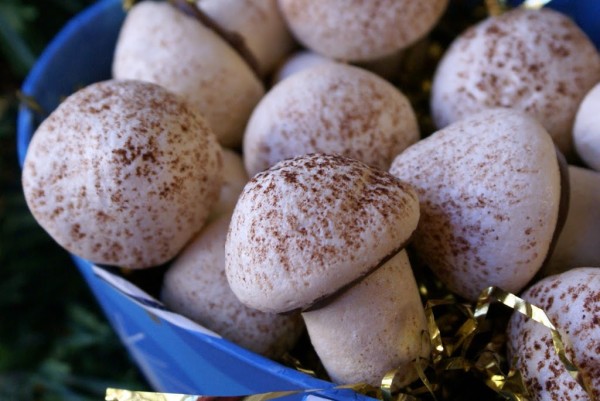
them to decorate Buche du Noels but I like to make them to give as gifts because they’re different from the regular holiday cookies. They present nicely in a small decorative basket, a mushroom basket from the store or even wrapped up in a cello bag tied with a festive ribbon.
Things needed~
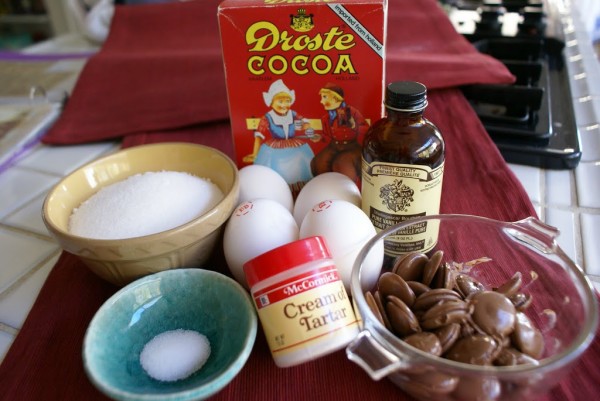
1/2 c. egg whites, room temp. (3 to 4 large eggs)
1/8 tsp. table salt
1/4 tsp. cream of tarter
1 c. granulated sugar
1 tsp. vanilla extract
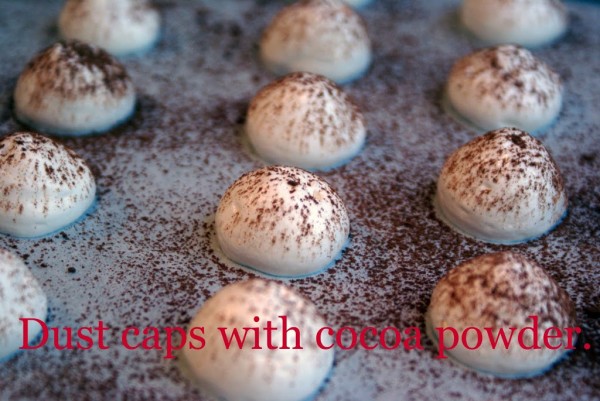
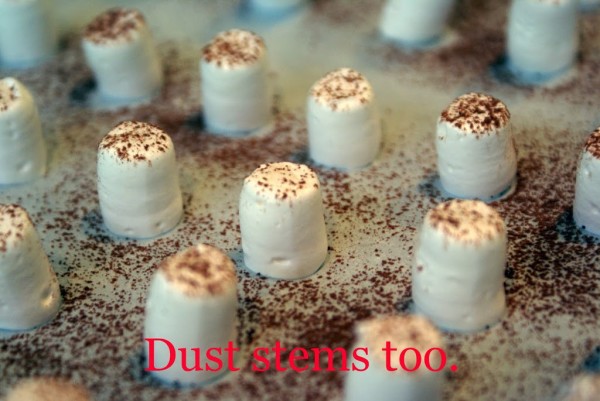
Unsweetened cocoa powder
6 oz. semi-sweet coating chocolate
parchment paper
baking sheets
pastry bag
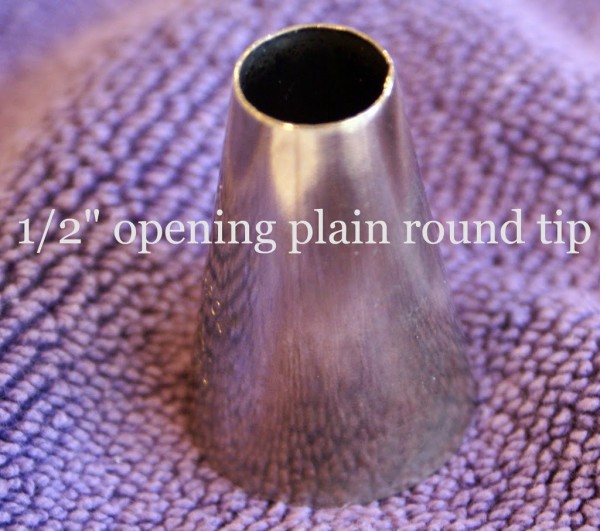
1/2″ plain round decorating tip
small sieve
Prep ~
Adjust 2 oven racks; place one in the highest position and the other in the lowest. Pre-heat oven to 225 F. Line the baking sheets with parchment. Secure the corners with a dab of butter.
Using a large clean bowl of an electric mixer, beat egg whites on low speed until they get foamy. Add salt and cream of tarter; beat on medium speed until whites begin to form soft peaks. Start adding sugar 1 Tbl. at a time beating 30 seconds between additions. When all the sugar has been added, add vanilla; increase speed to high and beat for an additional 8 minutes. This will insure all the sugar has been dissolved. There should be no grittiness in the mixture.
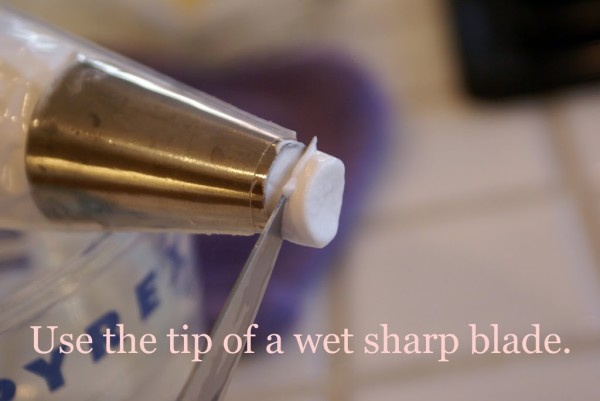
Use a 1/2″ to 3/4″ plain round tip.
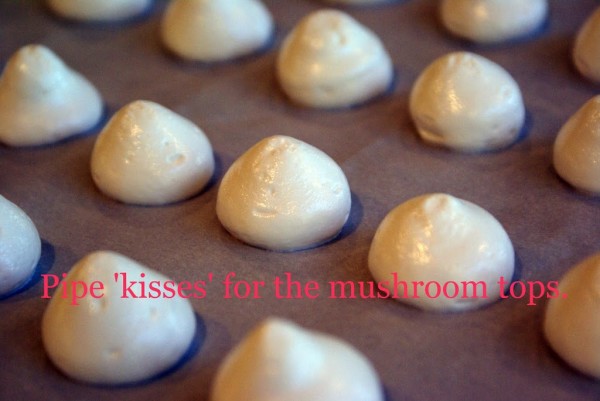
Fill pastry bag with meringue; start by piping stems on one of the baking sheets.
Hold the bag straight up from the baking sheet, gently squeeze out a stem about 1″ high, slowly raising the bag as the meringue is pushed out.
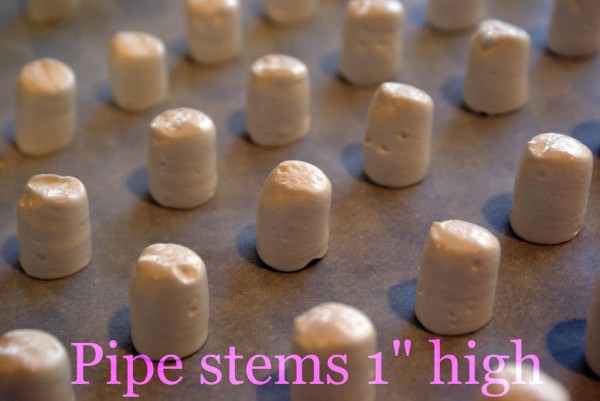
Use a small knife that has been dipped in water to cut meringue from the pastry tip. You can pipe with one hand and cut with the other. It takes some getting used to but it’s more efficient. I wish somehow I could show you but I know you’ll figure it out. 🙂
Place the stems about 1 1/2″ apart.
Oh, and make sure you pipe the same number of stems to caps!
I like Dutch Process because it’s not bitter but you can use whatever you have.
Place stems on upper rack and caps on the lower. The amount of time depends on your oven and the humidity factor. Check them after 1 hour. The meringue should easily peel away from the parchment without any sticking and the bottoms should be firm. If your meringues are not this way continue to bake them checking every 2o minutes. This could take a couple hours or more. When they are ready, turn off the oven and open the door slightly and allow them to cool in the oven.
At this point the dry meringues can be stored loosely in a basket or a bowl uncovered in a cool, dry location at room temp for up to 3 weeks. If your kitchen is more humid I would place them in a ziplock bag.
Assemble ~
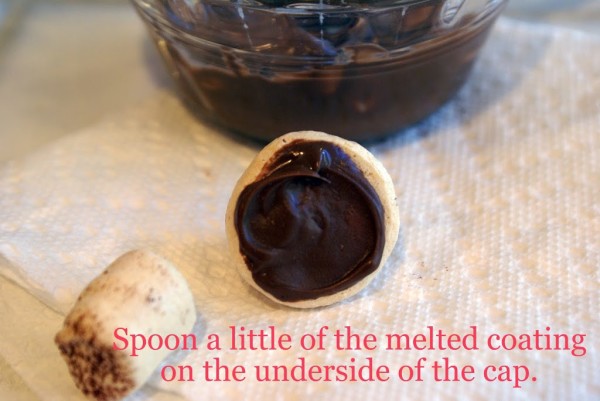
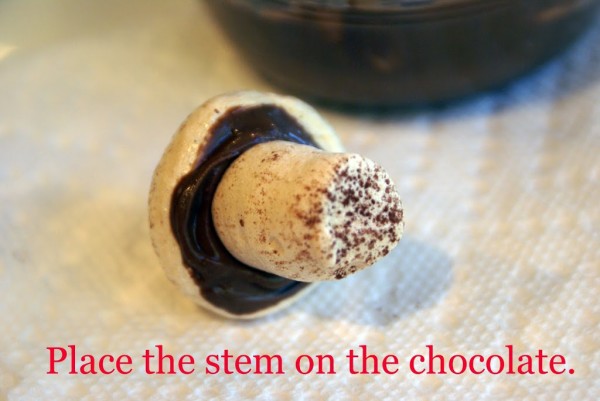
Melt coating chocolate. I prefer to do this in the microwave, 50% power for 30 seconds until melted perfectly. I use coating chocolate because it doesn’t need tempering and it hardens fast without having to refrigerate it. Meringues don’t like moisture so placing them in the frig is not a good idea.
I hope you’ll come back then!
Have a great week!










Wow that is a lot of work but well worth it they look delish! Have a wonderful Monday!
Oh wow….how cool are those! I tell you had I just looked at that picture w/out reading, I would have NEVER known they weren’t real mushrooms!! You are too creative!!
Love these! I saw them on Martha years and years ago and have been slightly obsessed ever since – but never knew anyone who makes them!
Wow … love Meringue… and these are just way to adorable to pass up!!! xo HHL
Formerly Frau ~ Once you get the hang of them it’s not too difficult. Have a great Monday too!:)
FF&Pearls ~ Thank you! 🙂
Suburban Princess ~ I think you should give them a try. If you can work a pastry bag (which you can) these take no other special skills. 🙂
HHLife~ If I thought I could send some to you and they’d arrive in tact I’d send you some. 🙂
i was a bit surprised when i saw your title — i thought you were making meringue out of mushroom, to which i said ick! but they are just so cute!!
Oh my!
Must … not … plan … more … holiday … baking. I’m already up to my ears in gingerbread houses!
I have always thought these were So Cute.
They looked so real in the top photo it took me a second to sort out they were the meringue kind. This is, by far, the best tutorial I have seen on making the concoction, the photos and extra tips are just outstanding.
Thank you for sharing your talent and wisdom!
tp
Zow! I love these–all tho I fear our humidity would never be low enough to do them justice. Still I might give it a try–they are so pretty and you are so clever!
Little Miss CB Wrong ~ Ha! That’s so funny. 🙂
Sadia ~ I love making gingerbread houses. I used to host workshops. Have fun. 🙂
LPC ~ And so good!
The Preppy Princess ~ That is so nice of you to say. It means a lot coming from you! 🙂
T&C Mom ~ I wonder how they would do in your area. It’s humid in the winter too?? 🙂
Very interesting and creative! Hope you are able to add my button to your blog! Check out a recent post for the code! I’ll add yours if you leave e a comment that you were able to add mine!
Just found your blog and I love it! Those mushrooms are the cutest thing I have ever seen! And the martinilooks gorgeous too!
Look forward to following you! xoxo
http://designerbagsanddirtydiapers.blogspot.com
I love meringues. I’ve never done mushrooms but I’ve made pink and green ones in the past…now that I think of it, it has been many years ago. With all this rainy weather we’ve been having, I should put it off till it’s a bit sunnier, I think. These look so cute.
At first I thought these looked like a lot of work, then I saw chocolate was included and KNEW it was all worth it. They’re gorgeous and look delicious.
Merry Christmas, jj
PS Stop by, I’m having a giveaway.
Wow, have never seen anything like this!! How long did they take you to make?