In the villa is a large ballroom with tall doors that open onto a grass area on one side of the wall and to the piazza courtyard on the other. The bride-to-be would like to add more color to the room and likes the rosette designs by Martha so on Friday we went to an art supply store in Glendale and bought some sheets to experiment with.
Here are the finished samples:
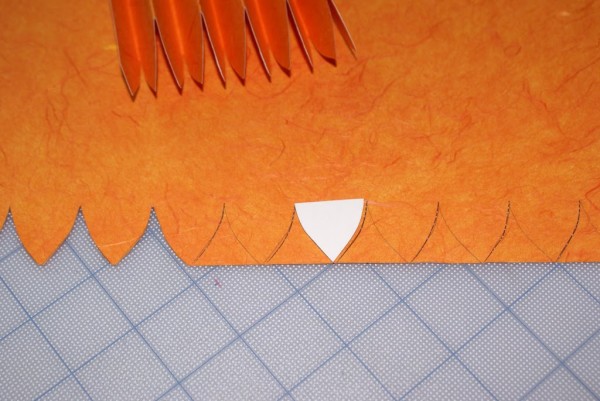 This was an 8 1/2 x 11 sheet of decorative paper. I decided to make a pattern which was cut with an x-acto knife. This went much faster than with scissors. Having the edge shapes cut before folding makes natural fold lines to follow.
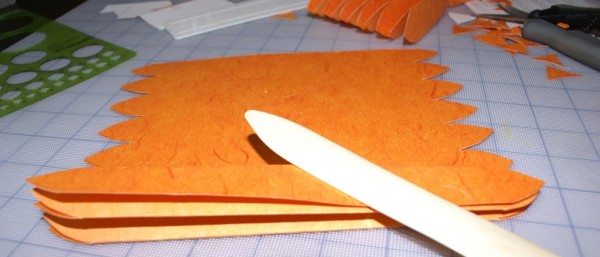 Next, I folded the paper making a fan that we all probably made in kindergarten. You do this to 2 sheets of paper. To attach them together I interlocked one side of edges with double stick tape and then notched the middle and secured with twine.
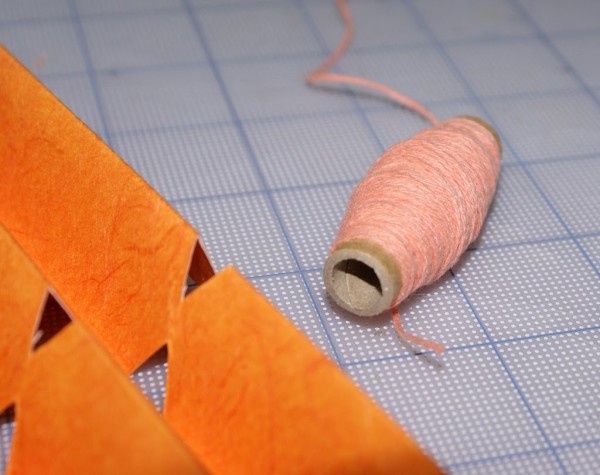 I used baker’s twine that I couldn’t believe I happened to have. On Friday night when we were making our first samples and didn’t have any string we used dental floss!
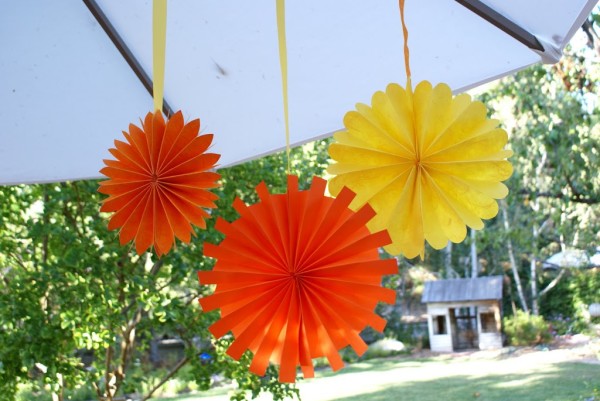
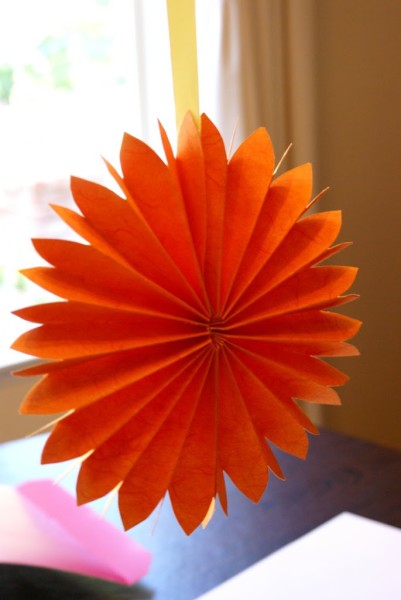 To secure the other end of the rosette making it a complete circle, I used the double stick tape again and attached a ribbon between the two ends to hang it up.
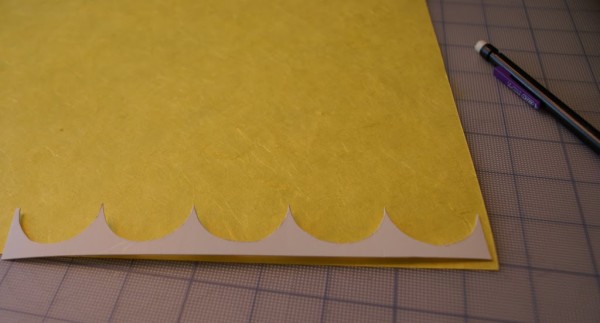 Moving on to the next sheets of paper and wanting to make another design, I was now wiser and made a larger template to add edge decoration when I began to make the yellow rosette.
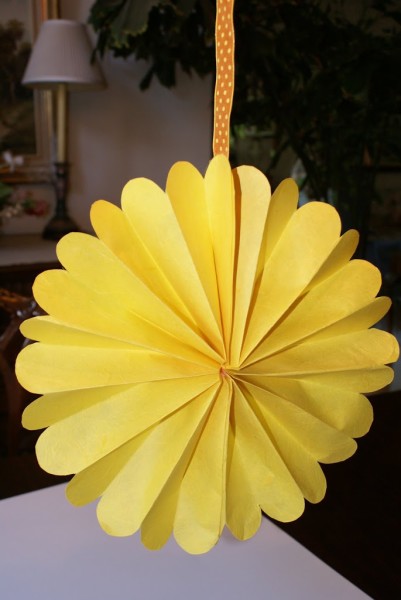 I think this is my favorite one. It’s made of a textured 12 x 12 rice paper and I love the polka dot ribbon. I think it breaks up the look of using all solids for the paper.
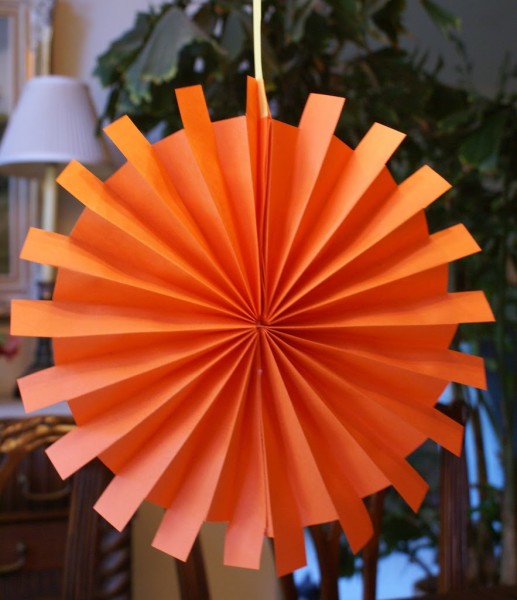 This is also made from 2 sheets of 12 x12. I wanted to try a pattern that was completely different but it is probably my least favorite look of the three. It was also fairly labor intensive to measure out. I was averaging about 40 minutes per rosette but I was being a perfectionist and perfecting my techniques. You know when you try something out for the first time it always takes longer than what you expect and then you hit your stride. I think once patterns, paper and ribbon have been decided upon they can be made relatively quickly assembly line style with the help of a few merry wedding elves.
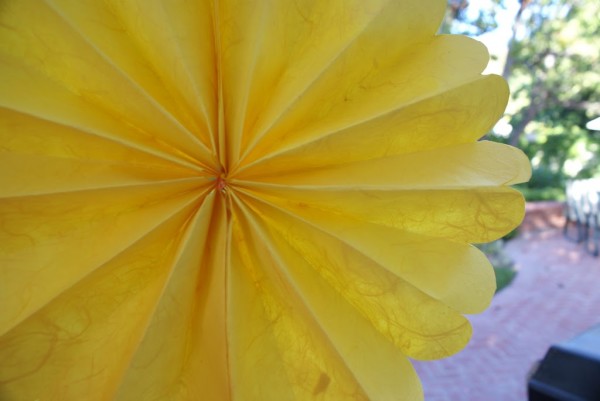 I love the texture of this paper.
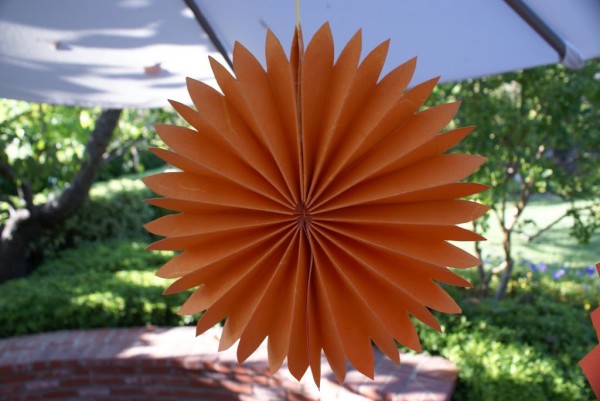 The larger the paper dimensions the bigger the rosettes. On Friday, we made one of poster sized paper.
The rosettes have really grown on me.
They did nothing for me when I first saw them in Martha’s wedding mag. The featured picture was too small and the colors were drab. With the wedding colors being bright orange and yellow these will look great on the dark brown of the doors. I would like to use 2 shades of yellow and 2 shades of orange with 3 or 4 different edge styles and 4 different sizes. We figured we need 30 rosettes. The wedding is almost 3 weeks away.
Putting this in print makes me panic!
I wonder what the bridal verdict will be.
Cookies post later today too!











I love them….I hope she likes them too. I can’t imagine how hard it is when the bride lives so far away…lots of photo emails I guess!
Great job PM! I love the textured paper too.
If those are her colors than the templates I sent via BetsyWhite should be perfect!
I hope the bride appreciates you and all your hard work!You’re a sweet Auntie!
I love them too! I think I am seeing your future as an empty nester…
Your creativity regarding entertainment must be parlayed!!!!
They’re fabulous! You’d have to be a perfectionist for this type of project! What a lucky bride to have you!
Those are fantastic you are SO crafty!!
I love them. They’d be great for showers or summer parties, too. 3 weeks away?? Wow! Aren’t you making a huge amount of iced cookies, too? You are one super nice Aunt!
Those are just too cute! Love them:)
LUCKY BRIDE!
Frau ~ Thank you. Lots of emails just with me. I can’t imagine being the MOB! 🙂
SJN ~ Thank you too and thanks again for the template info. I found the punch at Michaels so I have that in the back of my mind to use. 🙂
P2 ~ So kind, as usual. I think being a wedding planner would be fun but I don’t work on Saturday. 😉
Sarah ~ I am surprised how I get into a zen moment working on them. Thank you for your kind words. 🙂
KAC ~ I have to give credit to Martha. They are a great idea to add a little retro fun. 🙂
Mrs. Pink ~ Yes, the cookies samples have been made and I am going to start baking and freezing so I can ice later. I will be busy that is for sure! 🙂
Miss Janice ~ Thank you. I think they would look lovely hanging on your porch with one of your fabulous table settings. 🙂
Posh ~ Thank you, my dear. 🙂
What a great way to add color! These are looking great, I wish I was as creative as you are!
I am absolutely OBSESSED with this post. Many thanks for sharing. Xoxo-BLC
Their lovely & frankly kudos to you for all your patience!!!